7 Motorcycle Maintenance Tasks Every Rider Should Know: A Practical Safety Guide
Routine motorcycle maintenance protects braking, traction, starting reliability and engine life. The right interval depends on the model, riding conditions and whether the bike uses an X-ring or O-ring chain. Follow the owner’s manual for exact specifications, and use the correct tools and safety procedures for each task.
Seven Motorcycle Maintenance Tasks
| Task | Recommended interval | Key tools | Safety check | Replacement/adjustment trigger |
|---|---|---|---|---|
| Drive chain care | Every 300–600 miles; after rain or dirt riding | Chain cleaner; lubricant; paddock stand | Slack to manual spec; wheel alignment; tight spots | Adjust at slack limit; replace for kinks or hooked teeth |
| Tire pressure and tread | Weekly; before every long ride | Cold-pressure gauge; tread-depth gauge | Cold pressure to placard spec; damage; tread depth | Replace at wear bars, damage, or 2/32-inch tread |
| Engine oil and filter | Every 3,000–5,000 miles or annually | Manufacturer-specified oil; filter wrench; drain pan | Level ground; correct oil level; avoid hot-oil burns | Change oil and filter at interval or contamination |
| Brake pads and fluid | Inspect monthly; replace fluid every 2 years | Flashlight; brake cleaner; service manual | Pad thickness; firm lever; no leaks; fluid condition | Replace at wear indicator or 1 mm lining; flush every 2 years |
| Battery and terminals | Inspect every 3–6 months; monthly during storage | Multimeter; smart battery tender; terminal brush | 12.6–12.8 V at rest; secure, corrosion-free terminals | Charge below 12.4 V; replace if unable to hold charge |
| Air filter | Inspect at 6,000 miles; replace at 10,000–12,000 miles | Screwdriver/socket set; replacement filter or filter cleaner and oil | No dirt buildup, debris, tears, or airbox seal leaks | Replace when clogged, damaged, or oil-contaminated |
| Fasteners and controls | Every 3,000 miles; before road trips | Torque wrench; metric sockets; control lubricant | Torque to manual spec; free throttle, clutch, and brake movement | Tighten loose fasteners; lubricate or repair binding controls |
1. Inspect and maintain the drive chain
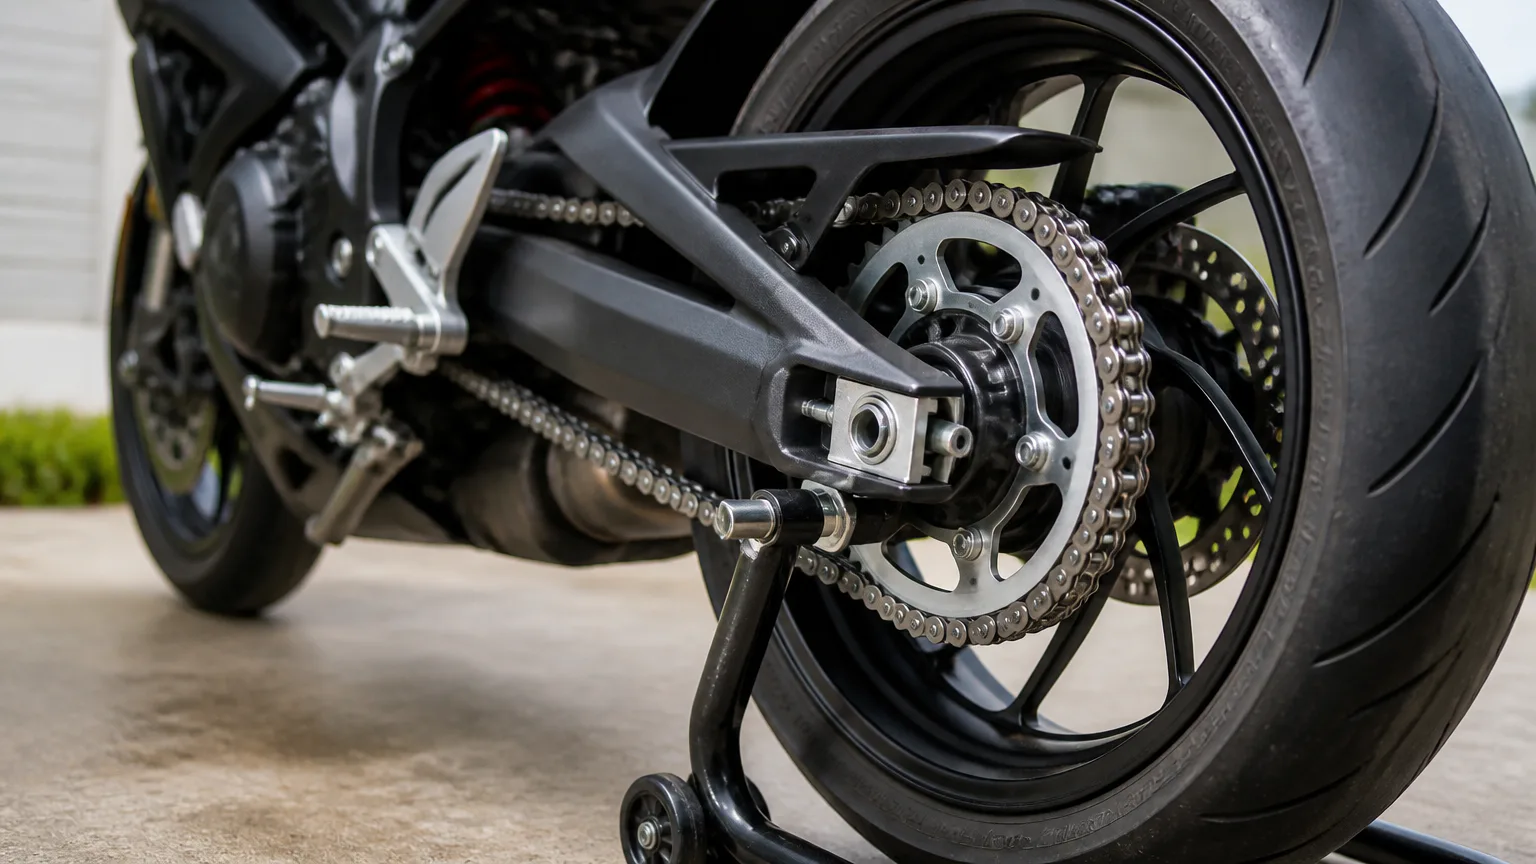
Chain care applies to both X-ring and O-ring chains. Clean and lubricate the chain every 300-600 miles and after riding in rain or dirt. Check slack and wheel alignment at the same time. Dirt and incorrect adjustment accelerate wear on the chain, sprockets and transmission output components.
- Park the motorcycle on level ground and switch off the engine.
- Use a paddock stand or center stand if the motorcycle is stable and the owner’s manual permits that position.
- Apply chain cleaner and remove grit with a chain-safe brush.
- Check the rollers, side plates, seals and sprocket teeth for damage or hooked wear.
- Measure slack at the tightest point and compare it with the owner’s manual.
- Adjust the rear axle evenly on both sides if the manual permits owner adjustment.
- Apply motorcycle-specific chain lubricant to the inside of the rollers.
- Let the lubricant set for approximately 15-20 minutes before riding.
Many motorcycles use approximately 20-30 mm of slack, but the correct figure varies by model. Confirm rear-wheel alignment and torque the axle hardware to the specified value. Adjust the chain when slack reaches its limit. Replace it if it develops kinks or the sprocket teeth become hooked.
Mileage isn’t the only factor that wears a chain. Hard acceleration, frequent two-up riding and a powerful engine put more force through the final drive, which can stretch or damage the chain sooner. Check the lubrication and slack regularly, and inspect the sprockets, especially when comparing the highest-torque motorcycles, where the drivetrain is less forgiving.
2. Check tire pressure and tread
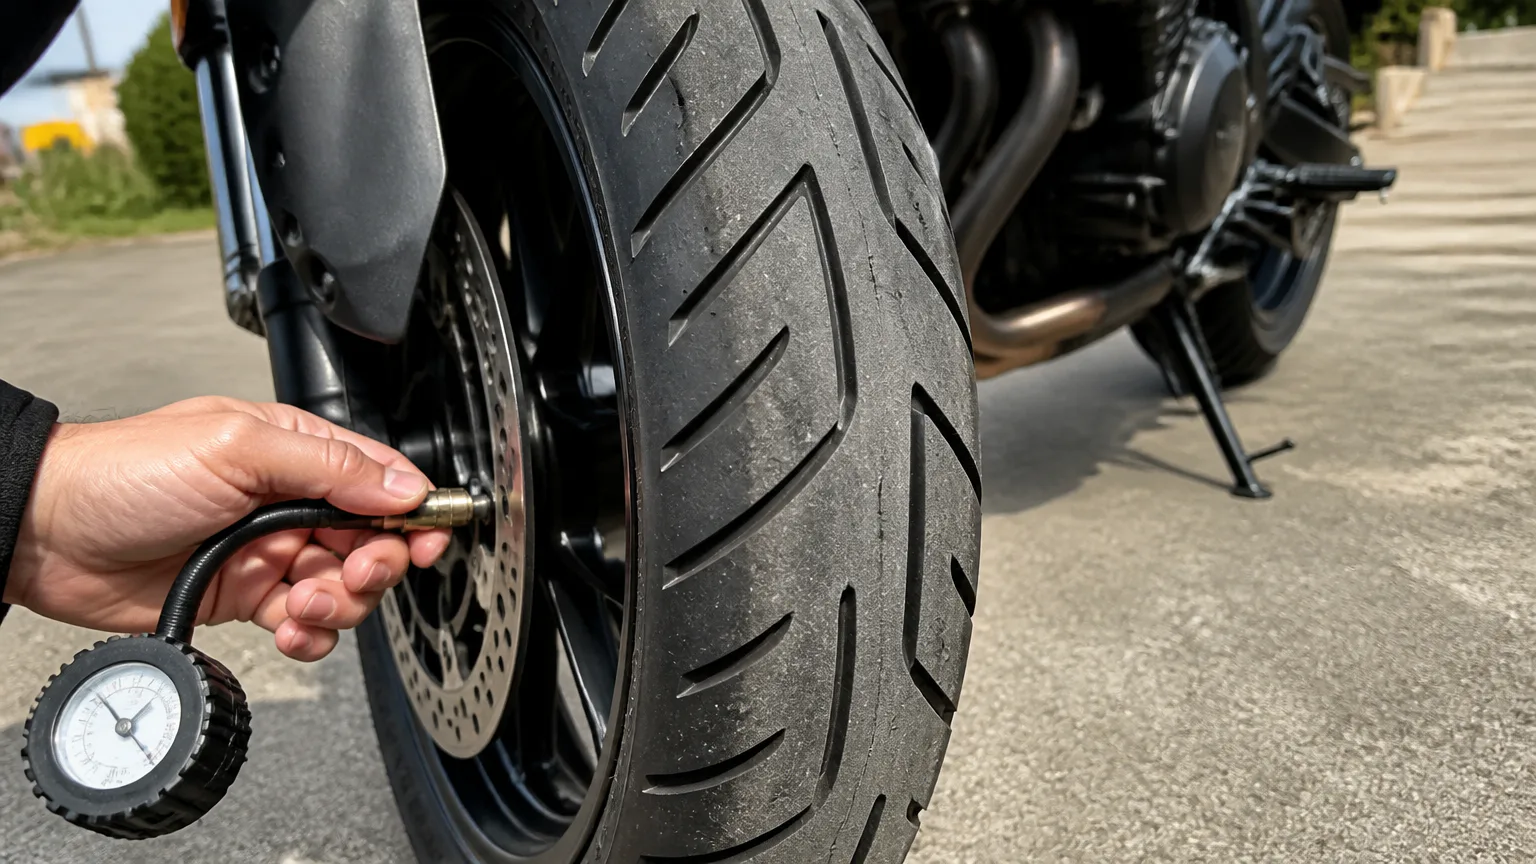
Check tire pressure before every long ride and at least once a week. Measure it with the tires cold, using the value on the swingarm sticker or in the owner’s manual. The maximum pressure molded into the tire sidewall is not the motorcycle’s recommended setting.
- Inspect both tires before riding, with the tread and sidewalls fully visible.
- Measure cold pressure with a reliable tire-pressure gauge.
- Look for nails, cuts, bulges, cracking, exposed cords and uneven wear.
- Check tread depth across the usable surface, not just in the center.
- Replace the tire when it reaches its wear indicator or the legal minimum.
Replace a tire at its wear bars, after damage or when tread reaches 2/32 inch. Persistent pressure loss, severe cupping or uneven wear requires professional inspection. Motorcycle tire mounting and balancing require specialized equipment and are best left to a mechanic.
3. Change engine oil and filter
Change the engine oil and filter every 3,000-5,000 miles or at least once a year, whichever comes first. The owner’s manual lists the required oil viscosity, performance rating, capacity, filter, drain-plug washer and final level-check procedure. Engines with wet clutches need oil approved for that application.
- Warm the engine for approximately 3-5 minutes, then switch it off.
- Stabilize the motorcycle on level ground and protect your hands from hot oil.
- Place a drain pan beneath the drain plug and remove the fill cap.
- Remove the drain plug and let the oil drain completely.
- Replace the crush washer if required, then install the drain plug to the specified torque.
- Remove the old filter, lightly oil the new filter seal and install the replacement.
- Add the specified oil gradually, then check the level using the manual’s sight-glass or dipstick procedure.
- Run the engine briefly, check for leaks and recheck the level on level ground.
DIY oil-change materials cost approximately $30, $60. A professional service costs approximately $80, $150. Store used oil in a sealed container and take it to an approved recycling location. Never pour it onto the ground or into a drain.
4. Inspect brakes and brake fluid
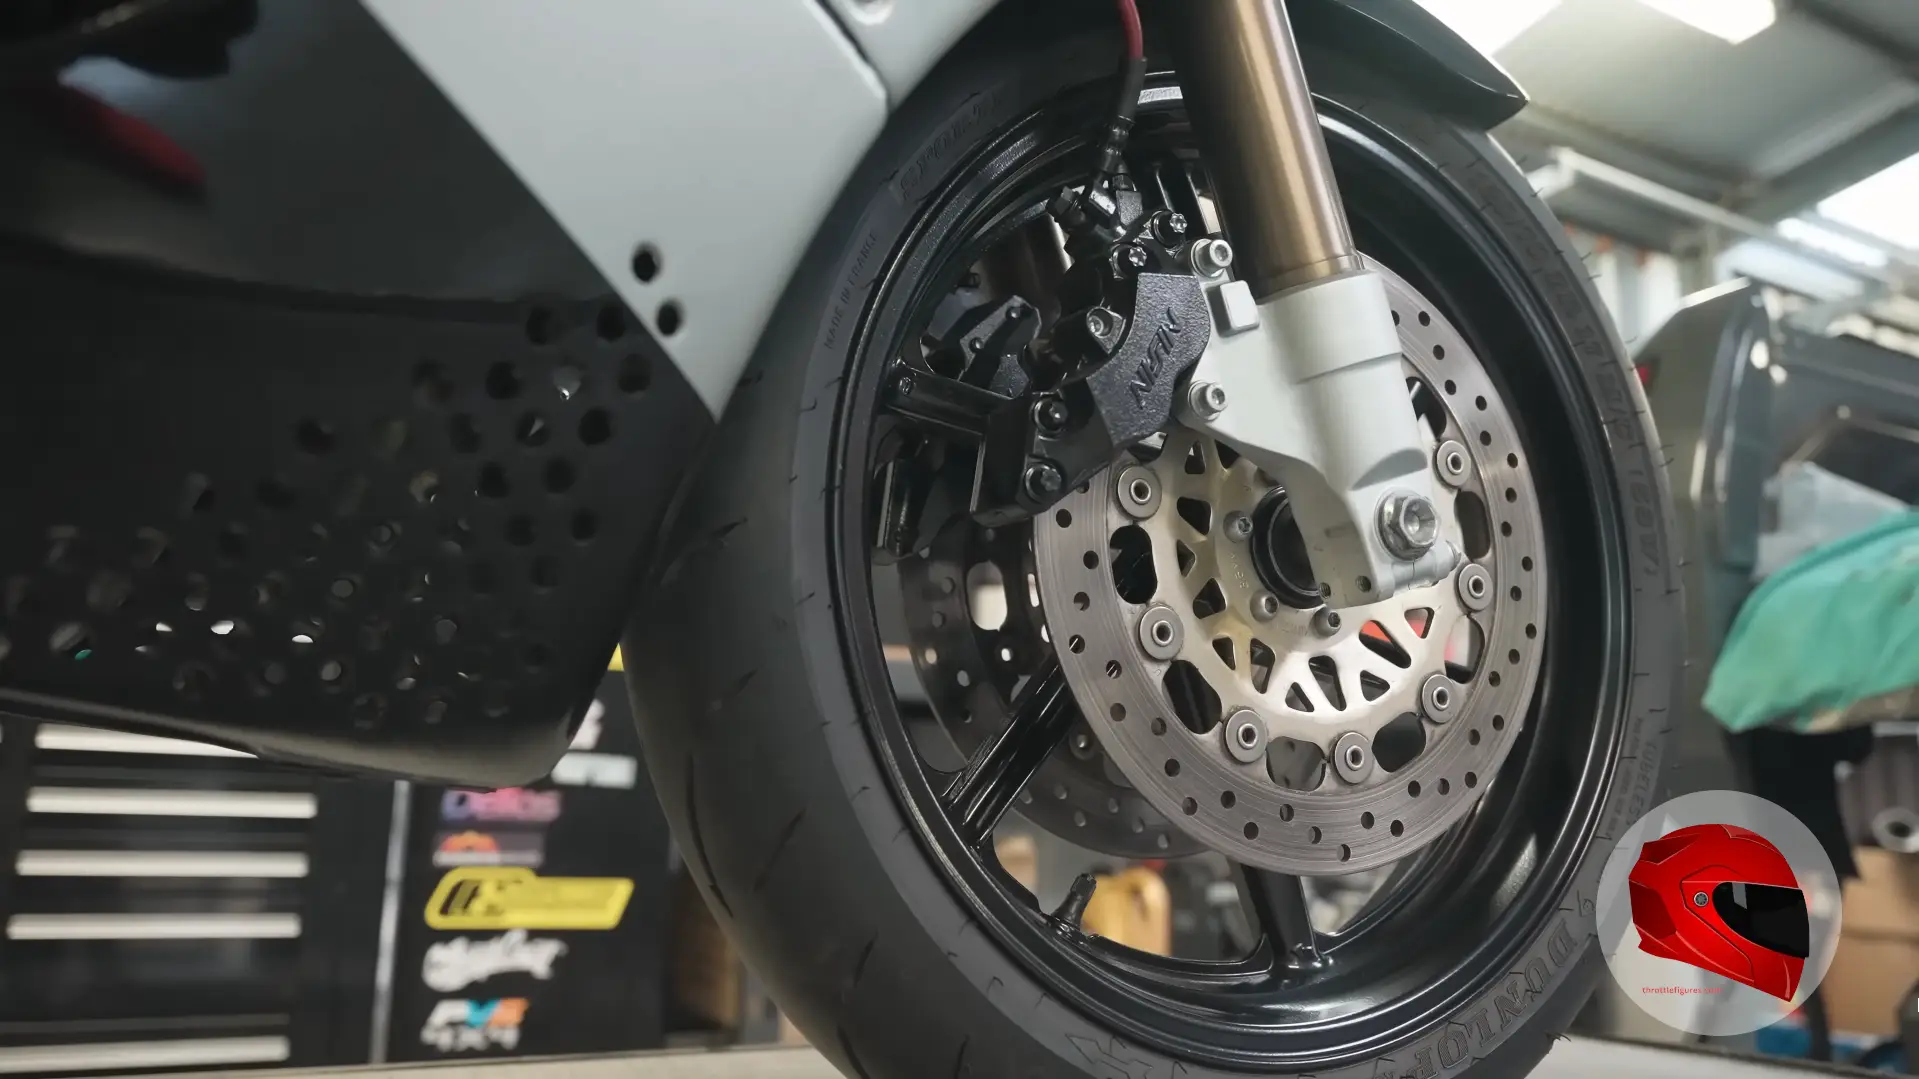
Inspect the brake pads at least monthly and before extended trips. Replace them at the wear indicator or when the remaining lining reaches 1 mm. Check the rotors for deep grooves, cracks, blue heat marks and a pronounced lip. The brake lever and pedal should feel firm and consistent.
- Use a flashlight to check pad thickness through the caliper.
- Inspect the rotor surface for scoring, cracks, contamination and unusual discoloration.
- Check the front and rear fluid reservoirs with the motorcycle upright.
- Look for leaks around the calipers, hoses, master cylinders and reservoir caps.
- Brake fluid should be clear to amber. Dark or brown fluid needs attention.
- Replace brake fluid at approximately two-year intervals unless the manual specifies a shorter period.
A soft lever, sinking pedal, visible leak, contaminated pad or grinding noise makes the motorcycle unsafe to ride. Brake bleeding is suitable for riders who understand the model’s procedure and can keep air and contamination out of the system. Otherwise, use a motorcycle mechanic.
5. Test the battery and terminals
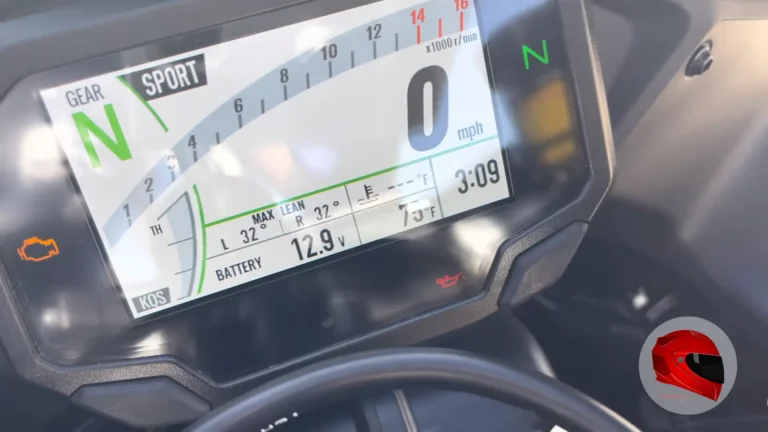
Inspect the battery every three to six months and monthly during storage. A healthy motorcycle battery measures approximately 12.6-12.8 volts at rest. A healthy charging system measures approximately 13.5-14.5 volts while the engine is running. Voltage alone does not confirm that a battery can supply starting current, so slow cranking still needs attention.
- Switch off the motorcycle and remove the seat or battery cover as directed by the manual.
- Check the terminals for corrosion, looseness, damaged cables and poor connections.
- Measure resting voltage after the battery has been undisturbed.
- Start the motorcycle and measure charging voltage at the specified engine speed.
- Clean corrosion safely, tighten the connections and reinstall the protective covers.
- Connect a smart battery tender if the motorcycle will sit for more than a couple of weeks.
Use a charger designed for the motorcycle’s battery type and follow its connection sequence. A tender maintains charge during the off-season but cannot repair a failing battery, damaged wiring or a faulty regulator-rectifier. Stop using the battery if it is swollen, leaking or visibly damaged.
6. Inspect or replace the air filter
Inspect the air filter at 6,000 miles and replace it at 10,000-12,000 miles. Dusty roads, construction zones and frequent off-pavement riding shorten that interval. Replace the filter sooner if it is clogged, damaged or oil-contaminated. A restricted filter reduces airflow, while a poorly sealed airbox can let abrasive dirt reach the engine.
- Remove the seat, fuel tank or airbox cover according to the service procedure.
- Note the filter’s orientation before removing it.
- Check the element for dirt, oil saturation, tears, warping and collapsed pleats.
- Clean a reusable filter only with the method and products specified for that filter.
- Replace a damaged or disposable element with the correct model-specific part.
- Clean the airbox sealing surface and reinstall the filter evenly.
- Confirm that the airbox cover and intake boots are fully sealed.
Do not wash a paper filter or oil a filter that is not designed for oil treatment. Deep intake contamination, fuel-soaked filter material or repeated airbox backfire symptoms call for professional diagnosis because the underlying problem may involve fueling or ignition.
7. Check fasteners and controls
Check fasteners and controls every 3,000 miles and before a major road trip. Vibration can loosen hardware, while a sticky lever or damaged cable can affect motorcycle control. The factory service manual provides detailed torque values and procedures when the owner’s manual does not.
- Inspect axle nuts, pinch bolts, brake-caliper bolts, handlebar clamps and footpeg mounts.
- Check mirrors, luggage mounts, bodywork, exhaust brackets and engine-mount hardware.
- Confirm smooth throttle return and free movement of the clutch and brake levers.
- Inspect cables and hoses for fraying, kinks, chafing and restricted movement.
- Test the horn, brake-light switches, side-stand switch and neutral switch.
- Use a torque wrench for safety-critical fasteners and follow the specified tightening sequence.
Do not guess torque values or tighten threaded fasteners by feel when a specification is available. Stop riding if the throttle does not snap closed, a control binds, a major fastener is loose or a safety switch behaves inconsistently.
Before riding, check the clutch lever, cable or hydraulic system, and the amount of free play. If the lever feels unusually heavy, loose or inconsistent, starting and low-speed maneuvering can become more difficult. Newer systems may also change how much input the rider needs. The Honda Rebel 300 clutch covers the model’s control feel and performance details, which are useful to understand before adjusting or troubleshooting the controls.
Use a pre-ride T-CLOCS check
A T-CLOCS inspection brings the main pre-ride checks into one short routine. The letters stand for tires and wheels, controls, lights and electrics, oil and fluids, chassis and stands. It does not replace scheduled maintenance, but it can reveal a problem before the motorcycle enters traffic.
- Tires and wheels: Check cold pressure, tread, damage, wheel condition and visible leaks.
- Controls: Test throttle return, clutch operation, brake feel, cables and steering movement.
- Lights and electrics: Test the headlight, brake light, turn signals, horn and instrument warnings.
- Oil and fluids: Check engine oil, coolant overflow level when the engine is cold, brake fluid and fuel leaks.
- Chassis: Inspect the chain, fasteners, suspension, frame and steering components.
- Stands: Confirm that the side stand and center stand retract, lock and remain secure.
Keep the inspection consistent and investigate any new noise, fluid mark, warning light or change in handling before riding. A short check is especially important after maintenance, transport, a fall or a long period of storage.
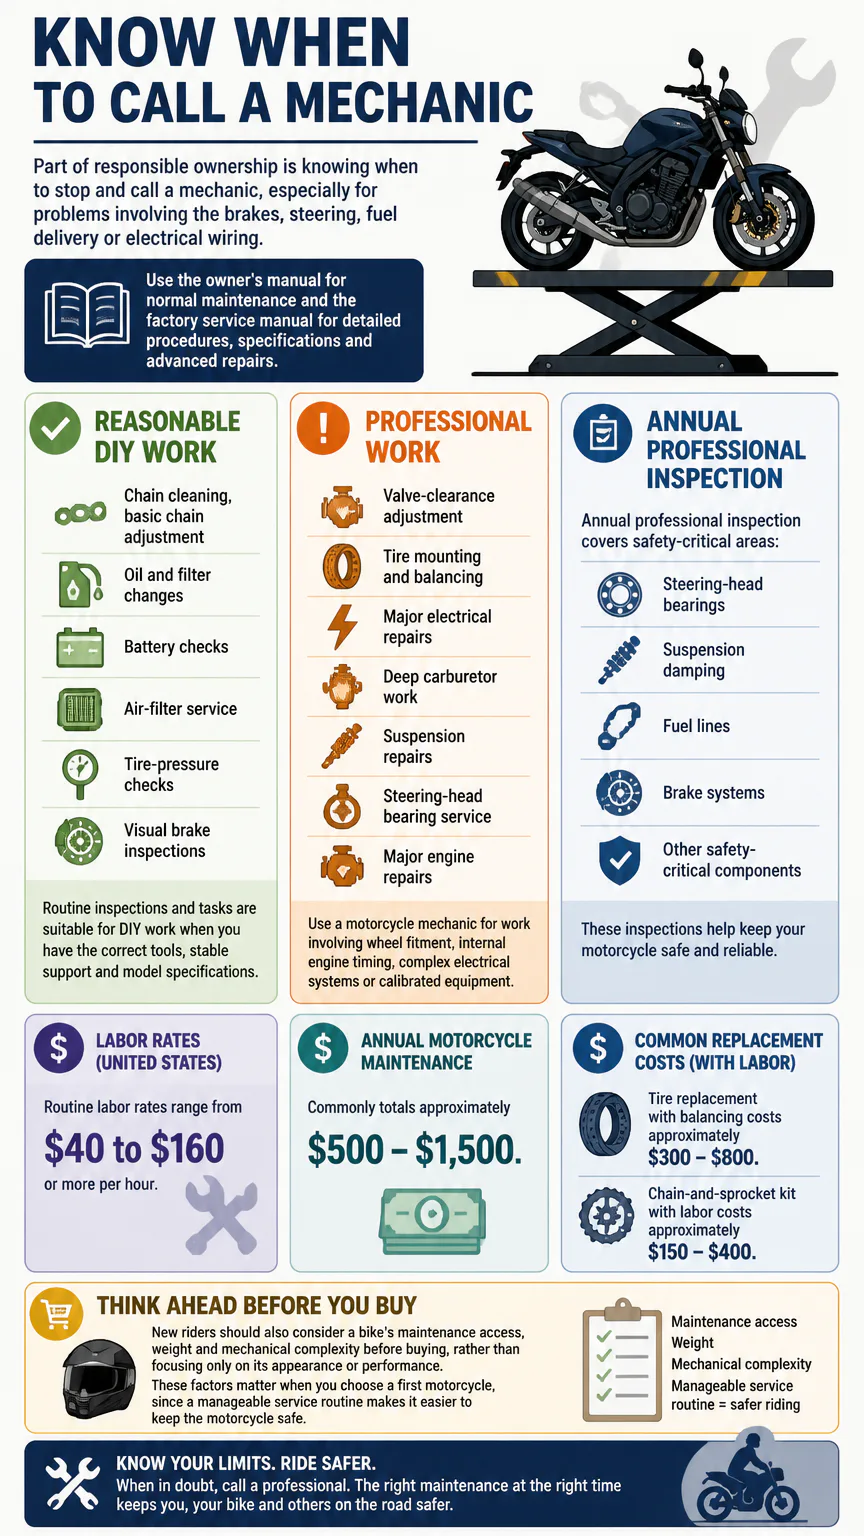
Know when to call a mechanic
Routine inspections and tasks are suitable for DIY work when you have the correct tools, stable support and model specifications. Use a motorcycle mechanic for work involving wheel fitment, internal engine timing, complex electrical systems or calibrated equipment.
- Reasonable DIY work: Chain cleaning, basic chain adjustment, oil and filter changes, battery checks, air-filter service, tire-pressure checks and visual brake inspections.
- Professional work: Valve-clearance adjustment, tire mounting and balancing, major electrical repairs, deep carburetor work, suspension repairs, steering-head bearing service and major engine repairs.
- Annual professional inspection: Steering-head bearings, suspension damping, fuel lines, brake systems and other safety-critical components.
Use the owner’s manual for normal maintenance and the factory service manual for detailed procedures, specifications and advanced repairs. In the United States, routine labor rates range from $40 to $160 or more per hour. Annual motorcycle maintenance commonly totals approximately $500, $1,500. Tire replacement with balancing costs approximately $300, $800, while a chain-and-sprocket kit with labor costs approximately $150, $400.
Part of responsible ownership is knowing when to stop and call a mechanic, especially for problems involving the brakes, steering, fuel delivery or electrical wiring. New riders should also consider a bike’s maintenance access, weight and mechanical complexity before buying, rather than focusing only on its appearance or performance. These factors matter when you choose a first motorcycle, since a manageable service routine makes it easier to keep the motorcycle safe.
FAQs
What is the 12-second rule on a motorcycle?
The 12-second rule means keeping a visual path approximately 12 seconds ahead of the motorcycle. This gives you more time to spot traffic changes, debris, stopped vehicles and escape routes before those hazards become immediate.
What does two fingers down mean for bikers?
Two fingers pointed downward are a common motorcycle greeting that acknowledges another rider and gestures toward the road. It is a courtesy signal, not a universal command, so keep both hands available when traffic or road conditions require full control.
Conclusion
Follow the motorcycle’s owner’s manual, record mileage and completed work, and perform a T-CLOCS check before riding. Keep routine inspections within your skill level, and use a qualified motorcycle mechanic for safety-critical or advanced repairs.

4 Comments
Comments are closed.