Motorcycle Chain Maintenance: Cleaning, Lubricating, and Adjusting
Regular motorcycle chain maintenance keeps power transfer smooth and helps prevent avoidable chain and sprocket damage. The routine depends on whether the motorcycle uses a plain chain or a sealed O-ring, X-ring, or Z-ring chain. Your owner’s manual controls slack, alignment, cleaner compatibility, and fastener torque. Allow time for the chain to dry and the lubricant to settle before riding.
Complete Motorcycle Chain Maintenance Steps
- Stabilize the motorcycle upright on a secure rear stand or center stand. Confirm that the stand is locked, and keep the engine switched off.
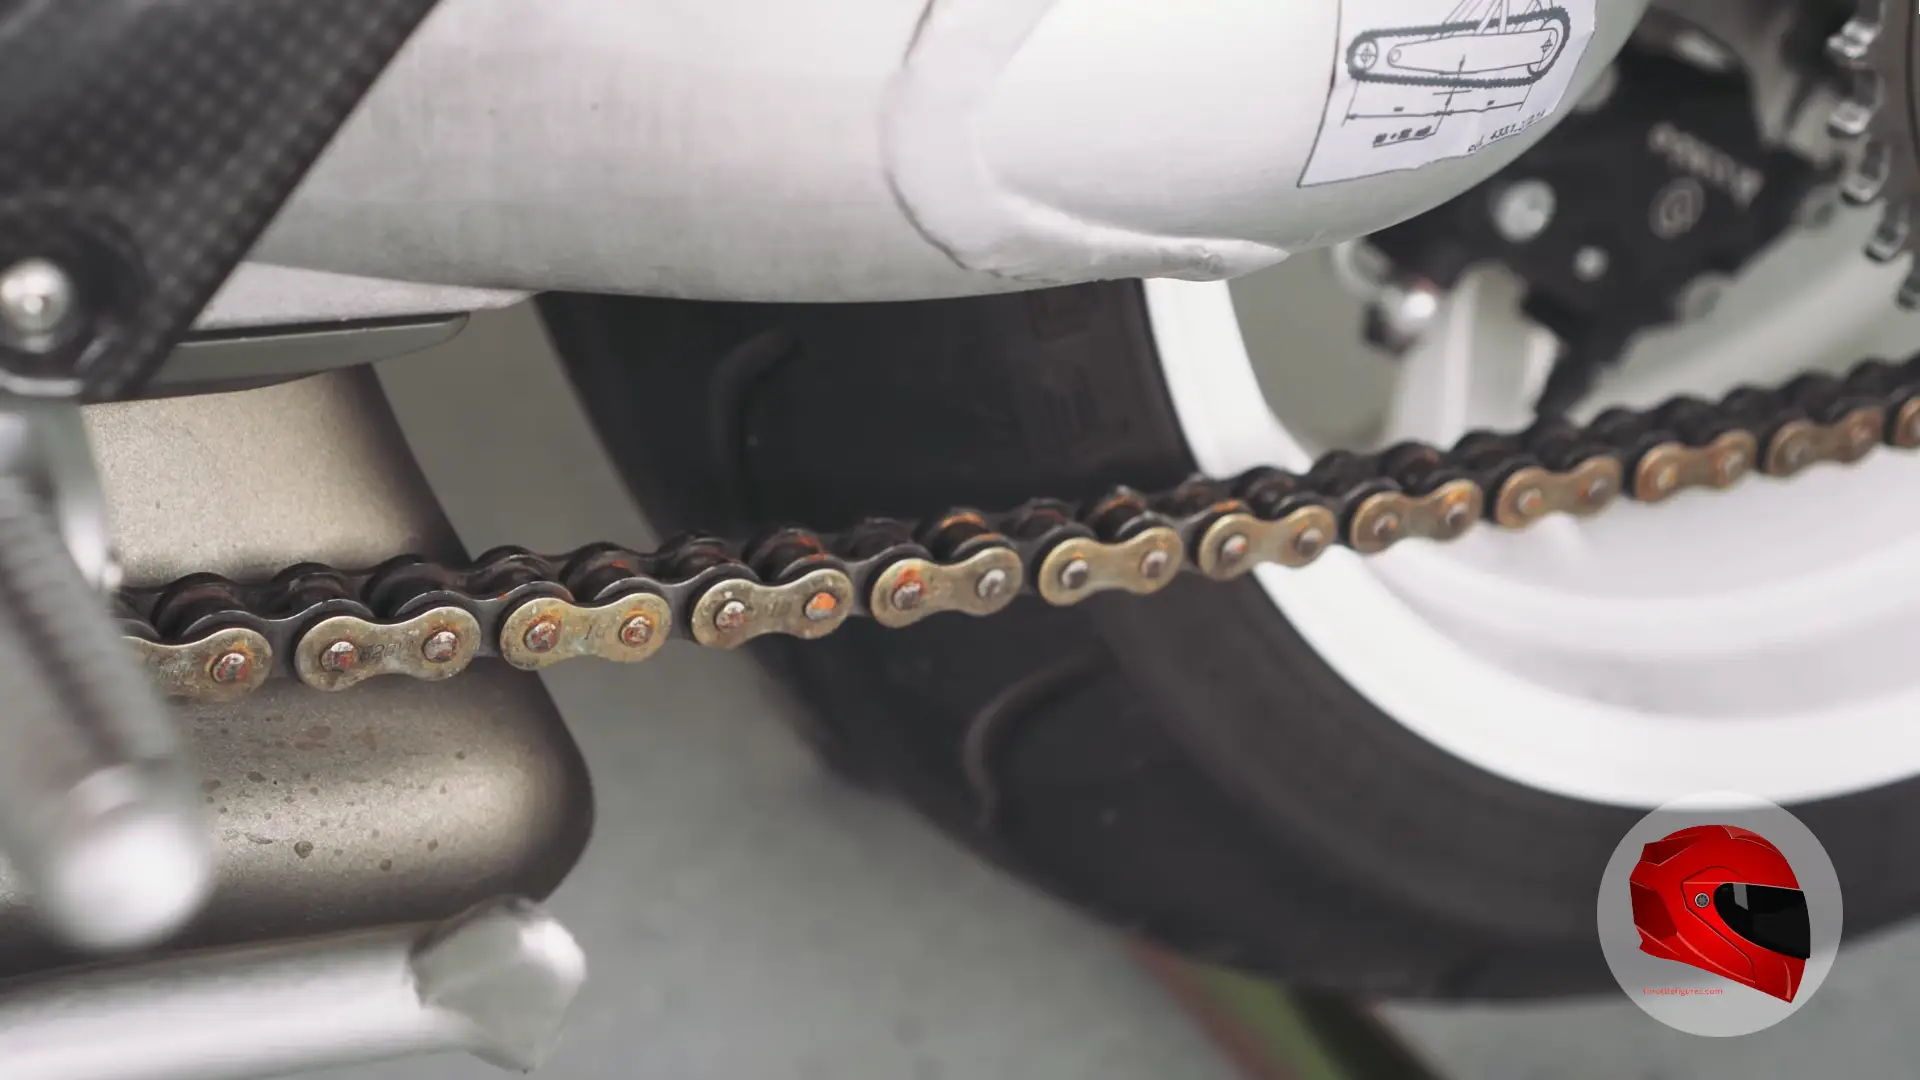
- Clean the chain with a compatible chain cleaner. Let it sit for about 60 seconds, or for the time specified on the product, then scrub gently with a soft brush.
- Rinse the chain with low-pressure water or wipe it thoroughly. Dry every surface with a clean cloth.
- Inspect the chain, seals, rollers, links, sprocket teeth, slack, and rear-wheel alignment before applying lubricant.
- Lubricate the inner portion of the chain where it contacts the sprockets. Rotate the rear wheel slowly by hand as you apply the product.
- Let the lubricant settle for at least 15 to 20 minutes. Some aerosol products require 15 to 30 minutes before use.
- Wipe away excess lubricant, lower the motorcycle safely, and check that the chain moves smoothly without binding before riding.
Never clean, inspect, or lubricate a chain with the engine running. A rotating rear wheel can catch clothing, gloves, or fingers and cause severe injury.
Treat chain cleaning and lubrication as part of a broader inspection. While the rear wheel is accessible, check the tires, brake components, fluid levels and visible fasteners as well. Combining these checks makes other motorcycle maintenance tasks more reliable.
Choose the Right Chain Cleaner and Lube
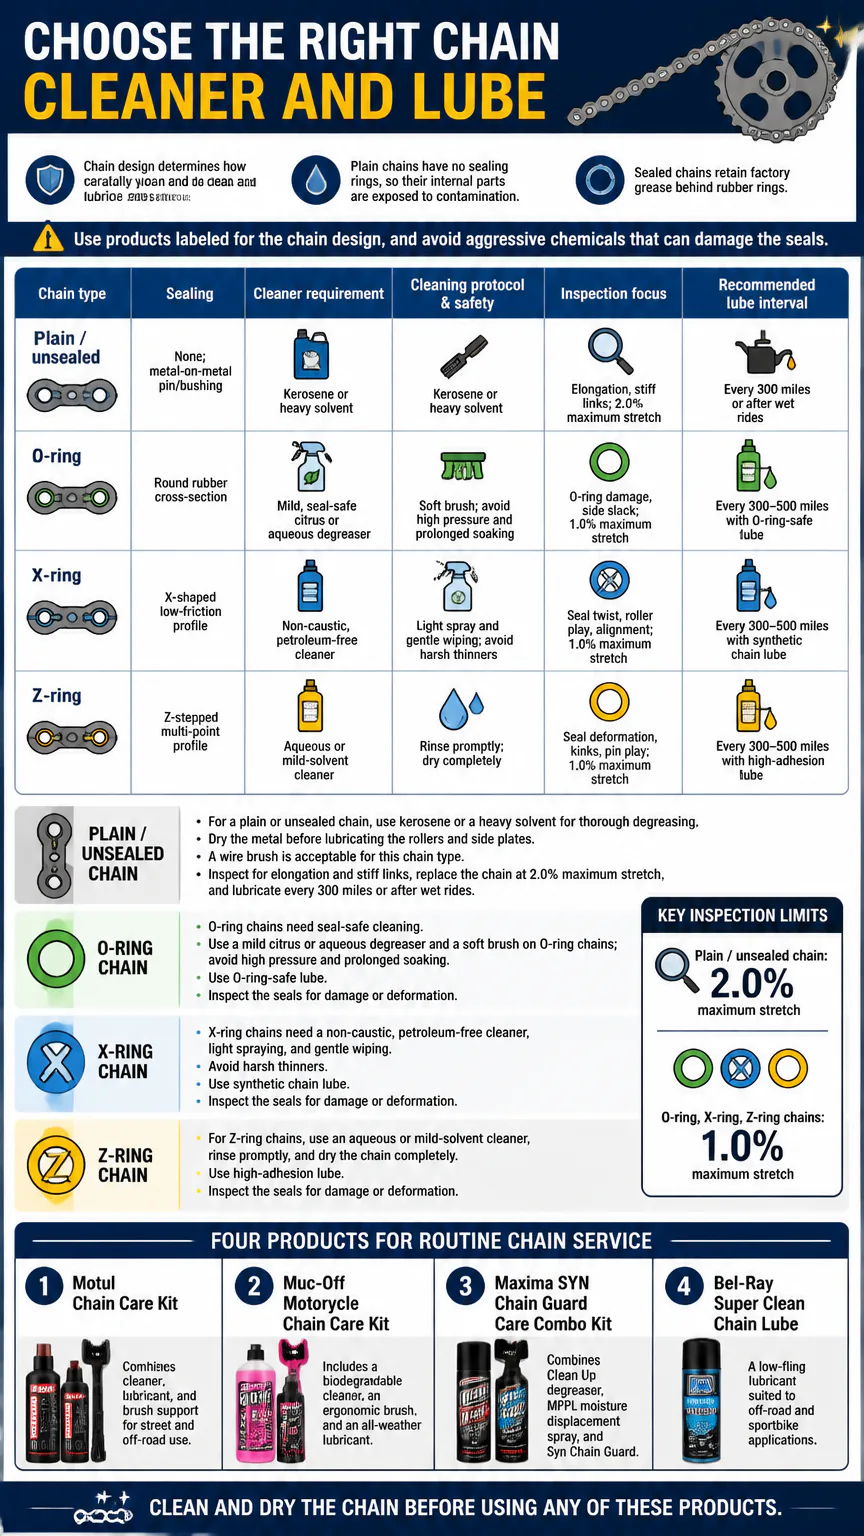
Chain design determines how carefully you need to clean and lubricate the drive system. Plain chains have no sealing rings, so their internal parts are exposed to contamination. Sealed chains retain factory grease behind rubber rings. Use products labeled for the chain design, and avoid aggressive chemicals that can damage the seals.
| Chain type | Sealing | Cleaner requirement | Cleaning protocol & safety | Inspection focus | Recommended lube interval |
|---|---|---|---|---|---|
| Plain / unsealed | None; metal-on-metal pin/bushing | Kerosene or heavy solvent | Kerosene or heavy solvent | Elongation, stiff links; 2.0% maximum stretch | Every 300 miles or after wet rides |
| O-ring | Round rubber cross-section | Mild, seal-safe citrus or aqueous degreaser | Soft brush; avoid high pressure and prolonged soaking | O-ring damage, side slack; 1.0% maximum stretch | Every 300–500 miles with O-ring-safe lube |
| X-ring | X-shaped low-friction profile | Non-caustic, petroleum-free cleaner | Light spray and gentle wiping; avoid harsh thinners | Seal twist, roller play, alignment; 1.0% maximum stretch | Every 300–500 miles with synthetic chain lube |
| Z-ring | Z-stepped multi-point profile | Aqueous or mild-solvent cleaner | Rinse promptly; dry completely | Seal deformation, kinks, pin play; 1.0% maximum stretch | Every 300–500 miles with high-adhesion lube |
For a plain or unsealed chain, use kerosene or a heavy solvent for thorough degreasing. Dry the metal before lubricating the rollers and side plates. A wire brush is acceptable for this chain type. Inspect for elongation and stiff links, replace the chain at 2.0% maximum stretch, and lubricate every 300 miles or after wet rides.
O-ring, X-ring, and Z-ring chains need seal-safe cleaning. Use a mild citrus or aqueous degreaser and a soft brush on O-ring chains; avoid high pressure and prolonged soaking. X-ring chains need a non-caustic, petroleum-free cleaner, light spraying, and gentle wiping. Avoid harsh thinners. For Z-ring chains, use an aqueous or mild-solvent cleaner, rinse promptly, and dry the chain completely. Use O-ring-safe lube on O-rings, synthetic chain lube on X-rings, and high-adhesion lube on Z-rings. Inspect the seals for damage or deformation.
Four named products take different approaches to routine service. Motul Chain Care Kit combines cleaner, lubricant, and brush support for street and off-road use. Muc-Off Motorcycle Chain Care Kit includes a biodegradable cleaner, an ergonomic brush, and an all-weather lubricant. Maxima SYN Chain Guard Care Combo Kit combines Clean Up degreaser, MPPL moisture displacement spray, and Syn Chain Guard. Bel-Ray Super Clean Chain Lube is a low-fling lubricant suited to off-road and sportbike applications. Clean and dry the chain before using any of these products.
Check Chain Slack and Alignment
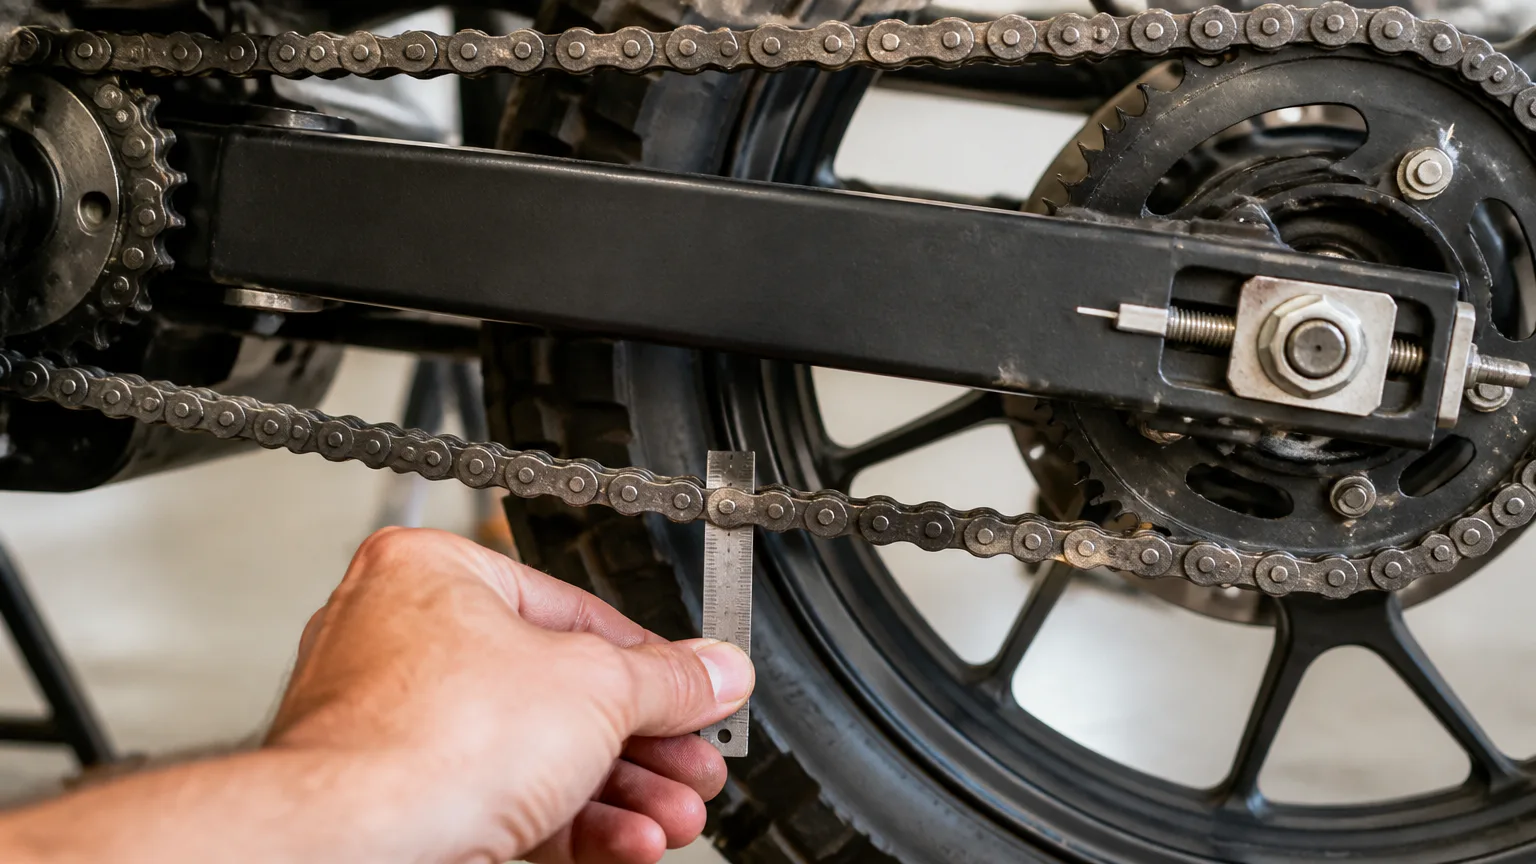
Measure chain slack on the lower span halfway between the transmission sprocket and rear-wheel sprocket. The correct measurement varies by motorcycle, suspension design, and load setting, so the owner’s manual takes priority over any general reference. A common range is approximately 0.8 to 1.2 inches, or about 20 to 30 millimeters, but some motorcycles specify different values.
- Locate the lower chain span at the midpoint between the two sprockets.
- Rotate the rear wheel by hand until you find the tightest section of chain.
- Measure the chain’s total up-and-down movement by pushing it upward and pulling it downward.
- Compare the measurement with the owner’s manual specification.
- Adjust the chain evenly at both axle adjusters if the measurement is outside the specified range.
- Verify that the alignment marks or a suitable alignment tool show the rear wheel tracking straight.
- Torque the rear axle and adjuster hardware to the values specified in the manual.
Too little slack can overload the chain, sprockets, countershaft bearing, and rear suspension as the suspension compresses. Too much slack can cause snatch and noise and may let the chain strike surrounding parts. Recheck the measurement after tightening the axle because tightening can change the setting.
Inspect Chain and Sprocket Wear
Cleaning exposes damage that road grime can hide. Inspect the entire chain instead of checking one convenient section, because wear can vary around the loop. A chain may feel acceptable in one position but bind or become excessively tight elsewhere.
- Check for stiff links: Bend each section gently and look for links that do not articulate smoothly.
- Check the seals: Look for damaged, missing, flattened, or deformed O-rings, X-rings, or Z-rings.
- Check side play: Excessive lateral movement indicates wear in the chain or its bushings.
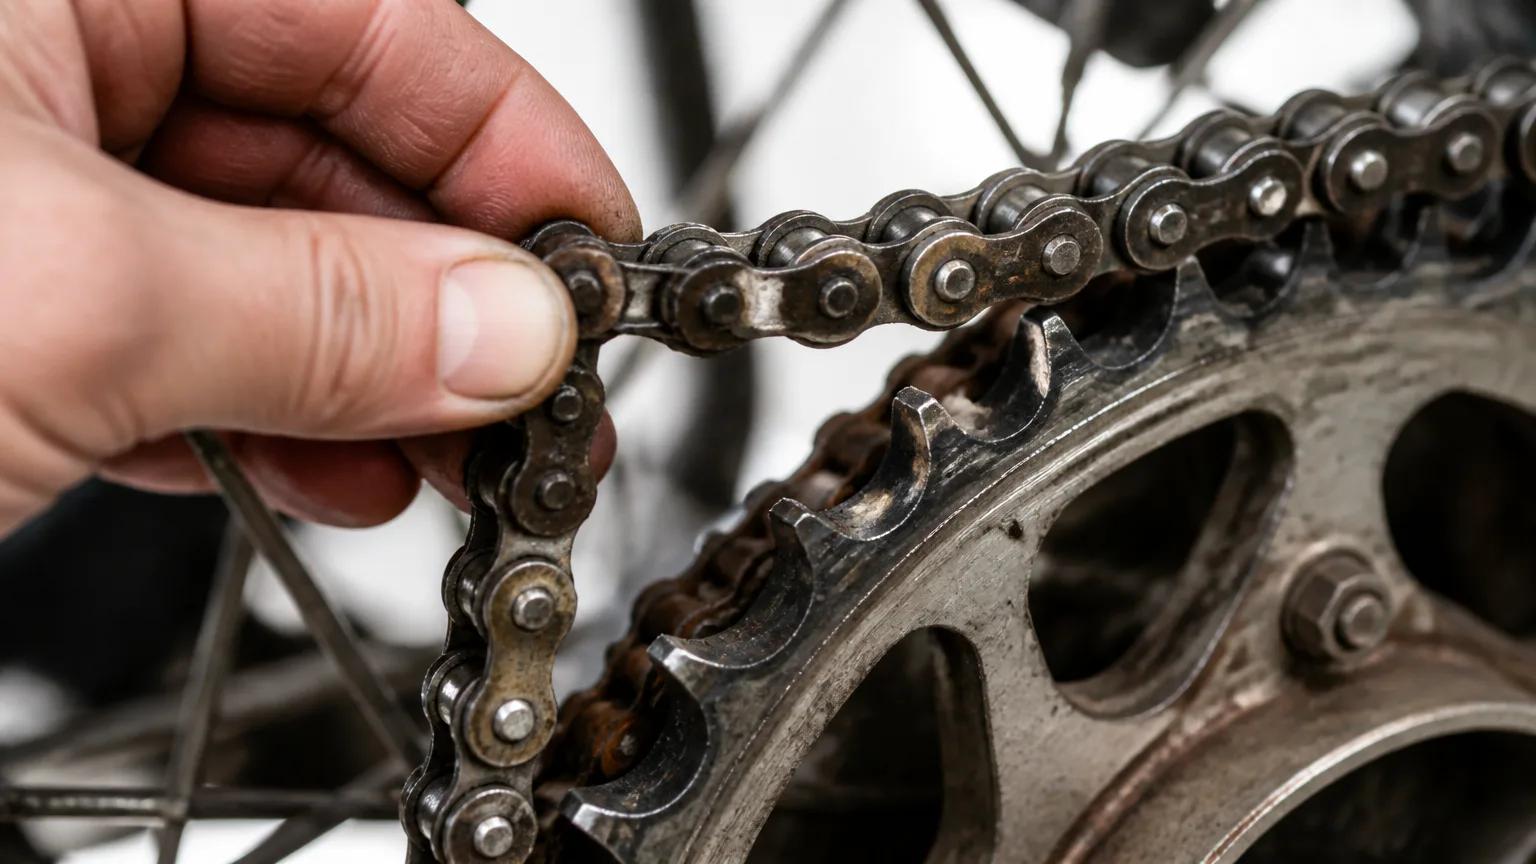
- Check pull-away: Lift the chain from the rear sprocket. Excessive separation indicates elongation or worn engagement surfaces.
- Check the sprocket teeth: Hooked, curved, or shark-fin-shaped teeth show significant wear.
- Check alignment: Make sure the chain runs centrally on both sprockets without a visible sideways track.
Surface rust, tight spots, repeated adjustment, and noise under load also call for closer inspection. Measure chain elongation using the method specified for the motorcycle. A chain can look clean while its pins and bushings are worn internally.
A stretched chain, tight spots, heavy rust or hooked sprocket teeth can point to neglected maintenance, and repairs that may cost more than the seller’s asking price suggests. These checks matter especially on a second-hand bike, where chain and sprocket condition adds useful context to the rest of a used motorcycle buying checklist.
Set a Maintenance Schedule
Use both mileage and riding conditions to schedule service. A clean, lubricated chain still needs inspection because slack, alignment, and wear can change independently of the lubricant’s appearance.
| Service | Interval | Trigger |
|---|---|---|
| Inspect slack and wear | Every 500 to 700 miles | Twice monthly |
| Clean and lubricate | At least every 500 miles | After rain, mud, dust, or heavy grime |
| Clean under harsh conditions | Every 300 to 600 miles | Frequent off-road or wet riding |
| Replace chain and sprockets | 15,000 to 25,000 miles | Wear indicators or damage |
Lubricate the chain after it is clean and dry, not simply because a mileage interval has arrived. Rain, mud, dust, or heavy road grime calls for cleaning and lubrication immediately afterward. Let the lubricant settle for at least 15 to 20 minutes before riding to reduce fling onto the wheel and brake area.
Check the chain more often after riding in rain, off-road or on long trips. If you only ride occasionally in dry weather, less frequent checks may be enough. Tie chain inspections to oil changes, brake checks and other routine work so they do not get missed, using how often you service a motorcycle as the basis for your schedule.
Avoid Common Chain Maintenance Mistakes
Most chain-care problems come from using too much force, the wrong chemical, or the wrong adjustment. Sealed chains are especially vulnerable to practices that damage their rings or force contamination past the seals.
- Avoid high-pressure washing: Pressure can drive water and grit past seals and into bearings.
- Avoid steam cleaners: Heat and pressure can remove lubricant from areas that are difficult to service.
- Avoid harsh solvents: Gasoline, benzene, volatile solvents, and abrasive cleaners can damage sealed-chain components.
- Avoid wire and hard-bristle brushes: Use a soft brush that will not cut or deform the seals.
- Avoid lubricating a dirty chain: Fresh lubricant can trap abrasive grit against the rollers and sprockets.
- Avoid over-lubrication: Excess product attracts dirt and can fling onto the rear tire or brake.
- Avoid incorrect tension: Do not use a generic slack number when the owner’s manual specifies another value.
- Avoid engine-powered rotation: Rotate the wheel by hand with the ignition off and the transmission in neutral.
WD-40 can displace water and help loosen surface grime, but it is not a substitute for motorcycle chain lubricant. After cleaning and drying, apply a dedicated chain lubricant, especially on sealed chains.
Know When to Replace the Chain
Replace the chain when it shows excessive elongation, repeated tight spots, stiff links that do not free up, damaged or missing seals, excessive side play, rust that affects movement, or excessive pull-away from the rear sprocket. A chain can fail even when its outer plates look serviceable because the pins and bushings may have worn internally.
Replace the chain and both sprockets as a matched set when wear is significant. A new chain on hooked sprockets wears quickly, while new sprockets paired with a worn chain can produce poor engagement and premature damage. A chain and sprocket set commonly lasts 15,000 to 25,000 miles, but riding conditions, power output, cleaning, adjustment, and lubrication affect the result.
For Japanese or commuter motorcycles, replacement parts cost about $80 to $200. European or high-performance motorcycles commonly require $150 to $350 in parts, while professional installation labor runs about $100 to $200. Use the motorcycle owner’s manual and the replacement-part specifications to choose the correct chain size, sprocket tooth counts, rivet style, and torque values.
FAQs
What is the 12-second rule on a motorcycle?
The 12-second rule is a road-scanning technique that involves looking at least 12 seconds ahead to identify hazards and plan a response. It is a riding-safety practice, not a motorcycle chain-maintenance interval.
Is a chain guide necessary on a motorcycle?
A chain guide is necessary when the motorcycle’s design specifies one, particularly on many off-road models where suspension movement and rough terrain can displace the chain. Keep it correctly mounted, and replace it if it is cracked, loose, or excessively worn.
Can you use WD-40 on a motorcycle chain?
WD-40 can displace water or loosen light grime, but it should not replace a dedicated motorcycle chain lubricant. Clean and dry the chain, then apply a lubricant compatible with its plain or sealed design.
How long should chain lubricant sit before riding?
Let chain lubricant settle for at least 15 to 20 minutes before riding. Follow the product’s specified curing period when it is longer; Bel-Ray Super Clean Chain Lube, for example, calls for 15 to 30 minutes of drying time after application.
What slack should a motorcycle chain have?
A common reference is approximately 0.8 to 1.2 inches, or 20 to 30 millimeters, measured at the tightest point on the lower chain span. The motorcycle owner’s manual is the controlling specification.
Conclusion
Maintain the chain with the engine off, a compatible cleaner, controlled lubrication, and the manufacturer’s slack and alignment specifications. Clean and lubricate it more often after wet or dirty rides, and replace the chain and both sprockets together when wear becomes significant.


2 Comments
Comments are closed.