Motorcycle Riding Tips for New Riders: Training, Gear and Safe Practice
Safe motorcycle riding starts with more than learning the controls. New riders need formal instruction, protective gear, deliberate practice and enough traffic awareness to spot hazards before they become emergencies. The right approach also depends on your state’s licensing rules, the motorcycle’s size and your confidence with low-speed control.
12 Motorcycle Tips for New Riders
- Take formal training: Complete a beginner course before riding regularly on public roads.
- Wear certified protective gear: Use a properly fitted helmet, jacket, gloves, boots and riding pants.
- Master the friction zone: Feather the clutch for smooth starts and controlled low-speed riding.
- Practice countersteering: Above 10-15 mph, apply gentle forward pressure to the grip on the side you want to turn toward.
- Use both brakes progressively: Build pressure smoothly. The front brake supplies most stopping power.
- Look through every corner: Set your entry speed before leaning and keep your eyes on the intended path.
- Maintain a three-second gap: Leave more space in poor weather, darkness and heavy traffic.
- Assume drivers do not see you: Avoid blind spots and keep an escape route available.
- Scan far ahead: Watch several vehicles ahead for slowing, turning and changing road conditions.
- Inspect the motorcycle: Check the tires, chain, brakes, controls, lights and fluid leaks before riding.
- Build skills gradually: Move from an empty lot to quiet streets and then to more complex traffic.
- Ride within your ability: Avoid speeds, weather, roads and group rides that exceed your current skills.
Complete beginner training and licensing
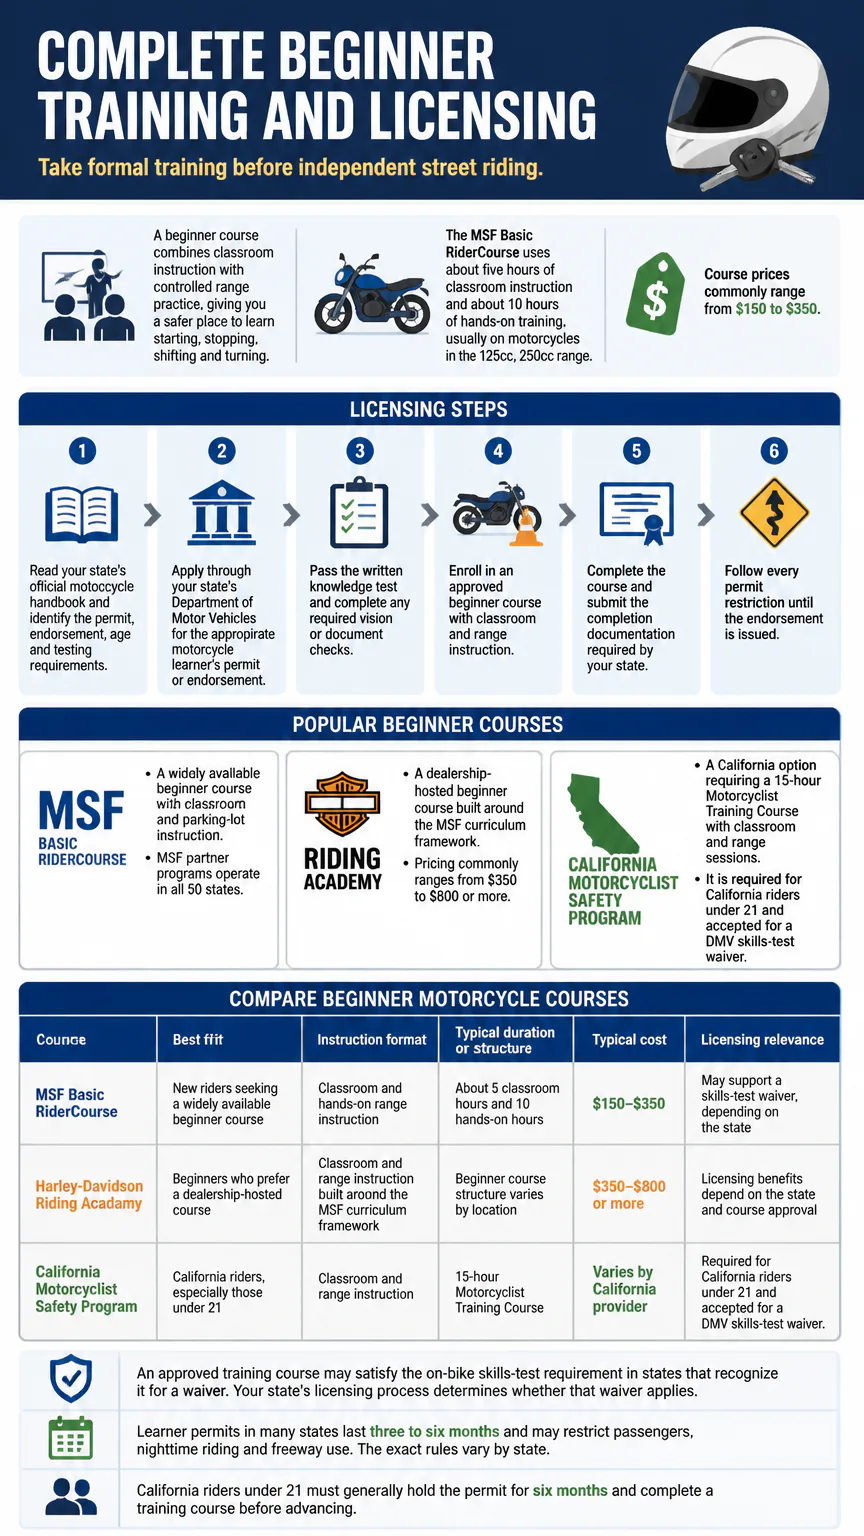
Take formal training before independent street riding. A beginner course combines classroom instruction with controlled range practice, giving you a safer place to learn starting, stopping, shifting and turning. The MSF Basic RiderCourse uses about five hours of classroom instruction and about 10 hours of hands-on training, usually on motorcycles in the 125cc, 250cc range. Course prices commonly range from $150 to $350.
- Read your state’s official motorcycle handbook and identify the permit, endorsement, age and testing requirements.
- Apply through your state’s Department of Motor Vehicles for the appropriate motorcycle learner’s permit or endorsement.
- Pass the written knowledge test and complete any required vision or document checks.
- Enroll in an approved beginner course with classroom and range instruction.
- Complete the course and submit the completion documentation required by your state.
- Follow every permit restriction until the endorsement is issued.
- MSF Basic RiderCourse: A widely available beginner course with classroom and parking-lot instruction. MSF partner programs operate in all 50 states.
- Harley-Davidson Riding Academy: A dealership-hosted beginner course built around the MSF curriculum framework. Pricing commonly ranges from $350 to $800 or more.
- California Motorcyclist Safety Program: A California option requiring a 15-hour Motorcyclist Training Course with classroom and range sessions. It is required for California riders under 21 and accepted for a DMV skills-test waiver.
Compare beginner motorcycle courses
| Course | Best fit | Instruction format | Typical duration or structure | Typical cost | Licensing relevance |
|---|---|---|---|---|---|
| MSF Basic RiderCourse | New riders seeking a widely available beginner course | Classroom and hands-on range instruction | About 5 classroom hours and 10 hands-on hours | $150–$350 | May support a skills-test waiver, depending on the state |
| Harley-Davidson Riding Academy | Beginners who prefer a dealership-hosted course | Classroom and range instruction built around the MSF curriculum framework | Beginner course structure varies by location | $350–$800 or more | Licensing benefits depend on the state and course approval |
| California Motorcyclist Safety Program | California riders, especially those under 21 | Classroom and range instruction | 15-hour Motorcyclist Training Course | Varies by California provider | Required for California riders under 21 and accepted for a DMV skills-test waiver |
An approved training course may satisfy the on-bike skills-test requirement in states that recognize it for a waiver. Your state’s licensing process determines whether that waiver applies. Learner permits in many states last three to six months and may restrict passengers, nighttime riding and freeway use. The exact rules vary by state. California riders under 21 must generally hold the permit for six months and complete a training course before advancing.
Essential protective gear for every ride
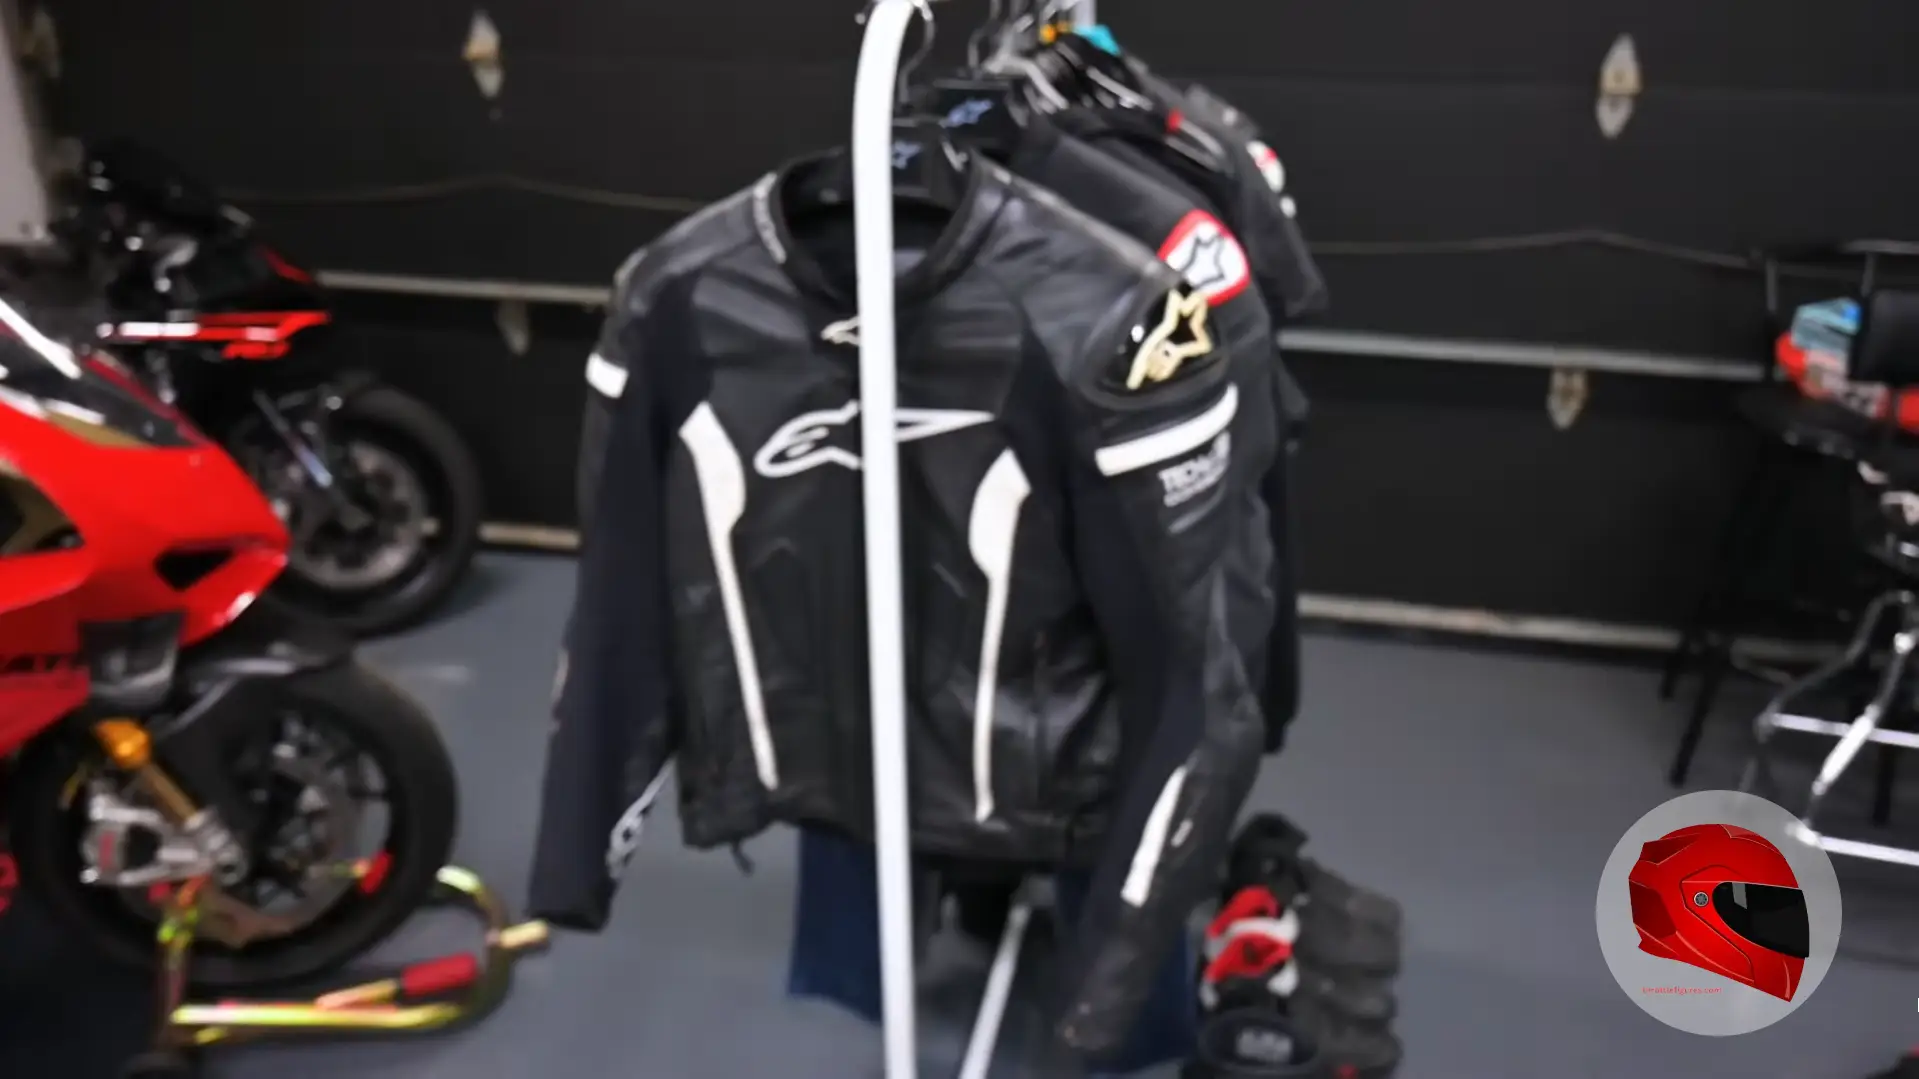
Have your protective equipment ready before you ride the motorcycle. A starter gear budget of $700 to $1,200 covers the main pieces, although prices vary with materials, armor, weather protection and fit. Gear should stay secure while you are seated without restricting steering, braking or clutch movement.
- Helmet: Spend about $150 to $400 on a new, properly fitting helmet with the official DOT certification mark. ECE 22.06 or Snell certification adds another recognized safety benchmark.
- Armored jacket: Budget $200 to $450 for abrasion-resistant material with impact protection at the shoulders and elbows.
- Gloves: Budget $40 to $100 for a secure wrist closure, abrasion resistance and protected knuckles or palms.
- Boots: Budget $150 to $300 for over-the-ankle footwear with firm soles and ankle support.
- Riding pants: Budget $150 to $350 for pants with abrasion resistance and hip and knee protection.
Check the helmet’s inner labeling for the DOT mark. Replace the helmet after a significant impact, even when the shell looks intact. California requires helmets for all operators and passengers on public roads. Street clothes do not provide equivalent abrasion or impact protection, especially at intersections where low-speed falls are common.
Practice motorcycle control in a parking lot
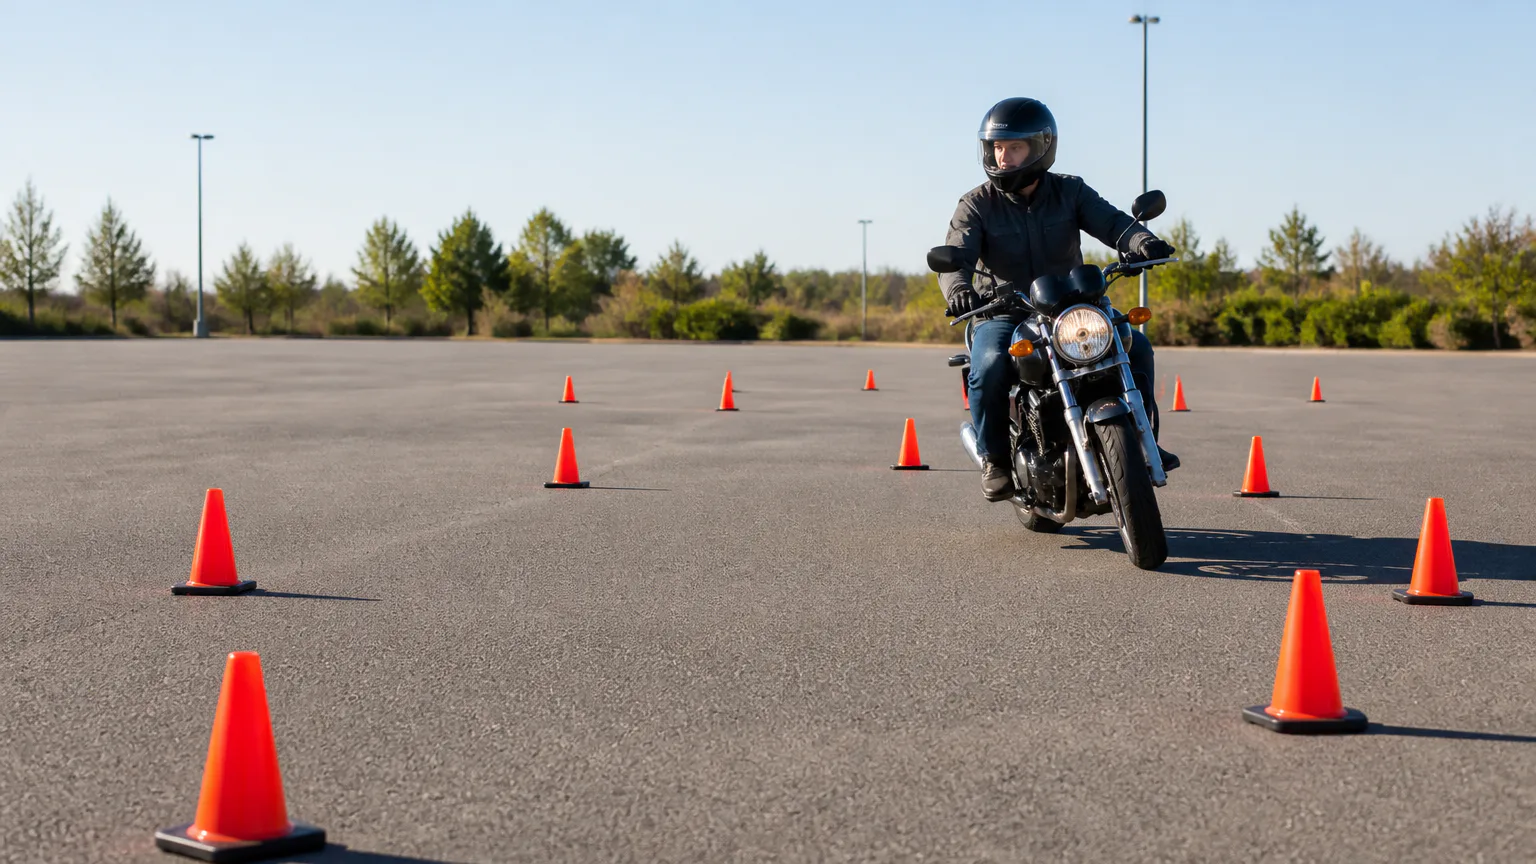
An empty, flat parking lot gives you room to repeat basic movements without traffic pressure. Choose a clean surface, avoid painted lines and loose gravel, and ride slowly enough to stop comfortably. Light rear-brake pressure combined with clutch control can stabilize slow maneuvers.
- Start the motorcycle in first gear and walk it forward through the clutch’s friction zone with little or no throttle.
- Repeat short “stutter walks”: release the clutch slightly, then pull it back in before the motorcycle surges.
- Ride straight lines at walking speed while keeping your head up and your eyes ahead.
- Make progressively tighter left and right circles while keeping your shoulders relaxed.
- Practice figure eights with steady clutch control and a light touch on the rear brake.
- Weave between widely spaced markers, then gradually reduce the spacing as your balance improves.
- Above 10-15 mph, apply gentle, momentary pressure to the handlebar in the direction of the turn and feel how countersteering changes the motorcycle’s lean.
Many light clutch levers can be modulated with one or two fingers while the remaining fingers keep a firm grip. Do not rush into faster riding or tighter turns. First aim for consistent control, smooth throttle transitions and a stable motorcycle.
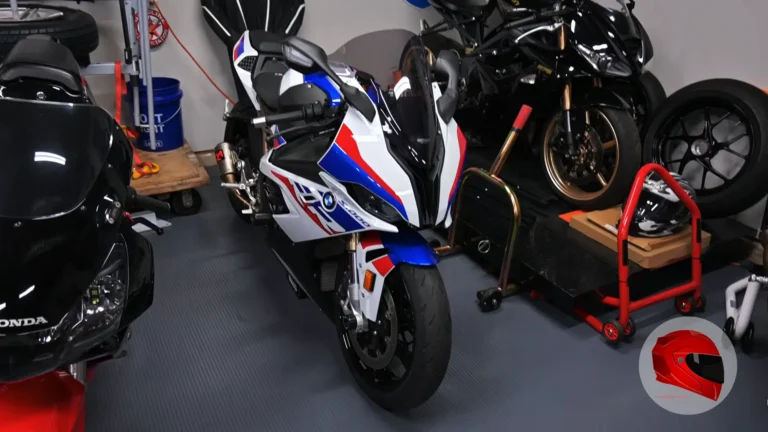
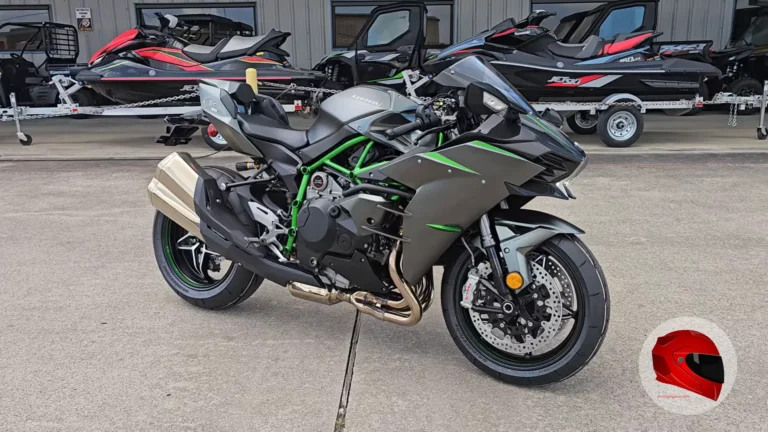
Parking-lot practice quickly shows how much a motorcycle reacts to small throttle changes, especially when starting, stopping or weaving at low speed. Bikes with more power for their weight can accelerate sharply, so new riders should focus on smooth control rather than performance figures. Understanding motorcycle power-to-weight ratios can also help you judge how forgiving a bike may feel.
Brake smoothly before you need to
Practice braking deliberately. Panic inputs can lock a wheel or upset the motorcycle. As weight transfers forward, the front tire contributes approximately 70% to 80% of stopping power. Use both brakes together with smooth, progressive pressure.
- Choose a straight, clean section of pavement with no traffic or obstacles.
- Ride at a low, controlled speed and apply the brakes with a gentle initial squeeze.
- Increase pressure progressively while keeping the motorcycle upright and looking toward the stopping area.
- Repeat the exercise at gradually higher speeds, leaving enough room to stop safely.
- Practice an emergency stop with both brakes, firm arms and a relaxed upper body.
- Release brake pressure smoothly after stopping, then check your surroundings before moving again.
Keep at least three seconds of following distance in ordinary conditions. Add more space in rain, darkness, wind and heavy traffic. Practice braking before you need it on the road, but do not perform maximum-effort stops on public streets.
Corner with vision and control
Many beginner cornering problems come from entering too fast or looking at the wrong place. Slow before the turn, choose a line that leaves room for changing conditions and keep your eyes on the path you want the motorcycle to follow.
- Set entry speed: Complete most braking before leaning into the corner.
- Look through the turn: Turn your head and eyes toward the exit instead of staring at the curb or pavement.
- Choose a safe line: When conditions allow, enter from the outside, pass toward the inside and exit toward the outside.
- Keep inputs smooth: Avoid abrupt throttle, clutch or brake changes while leaned over.
- Manage hazards: Adjust for gravel, potholes, wet pavement, parked vehicles and limited visibility.
Target fixation can pull the motorcycle toward the object you are staring at. If a vehicle, object or patch of debris appears in your path, look toward the open route and use controlled steering instead of freezing your eyes on the hazard.
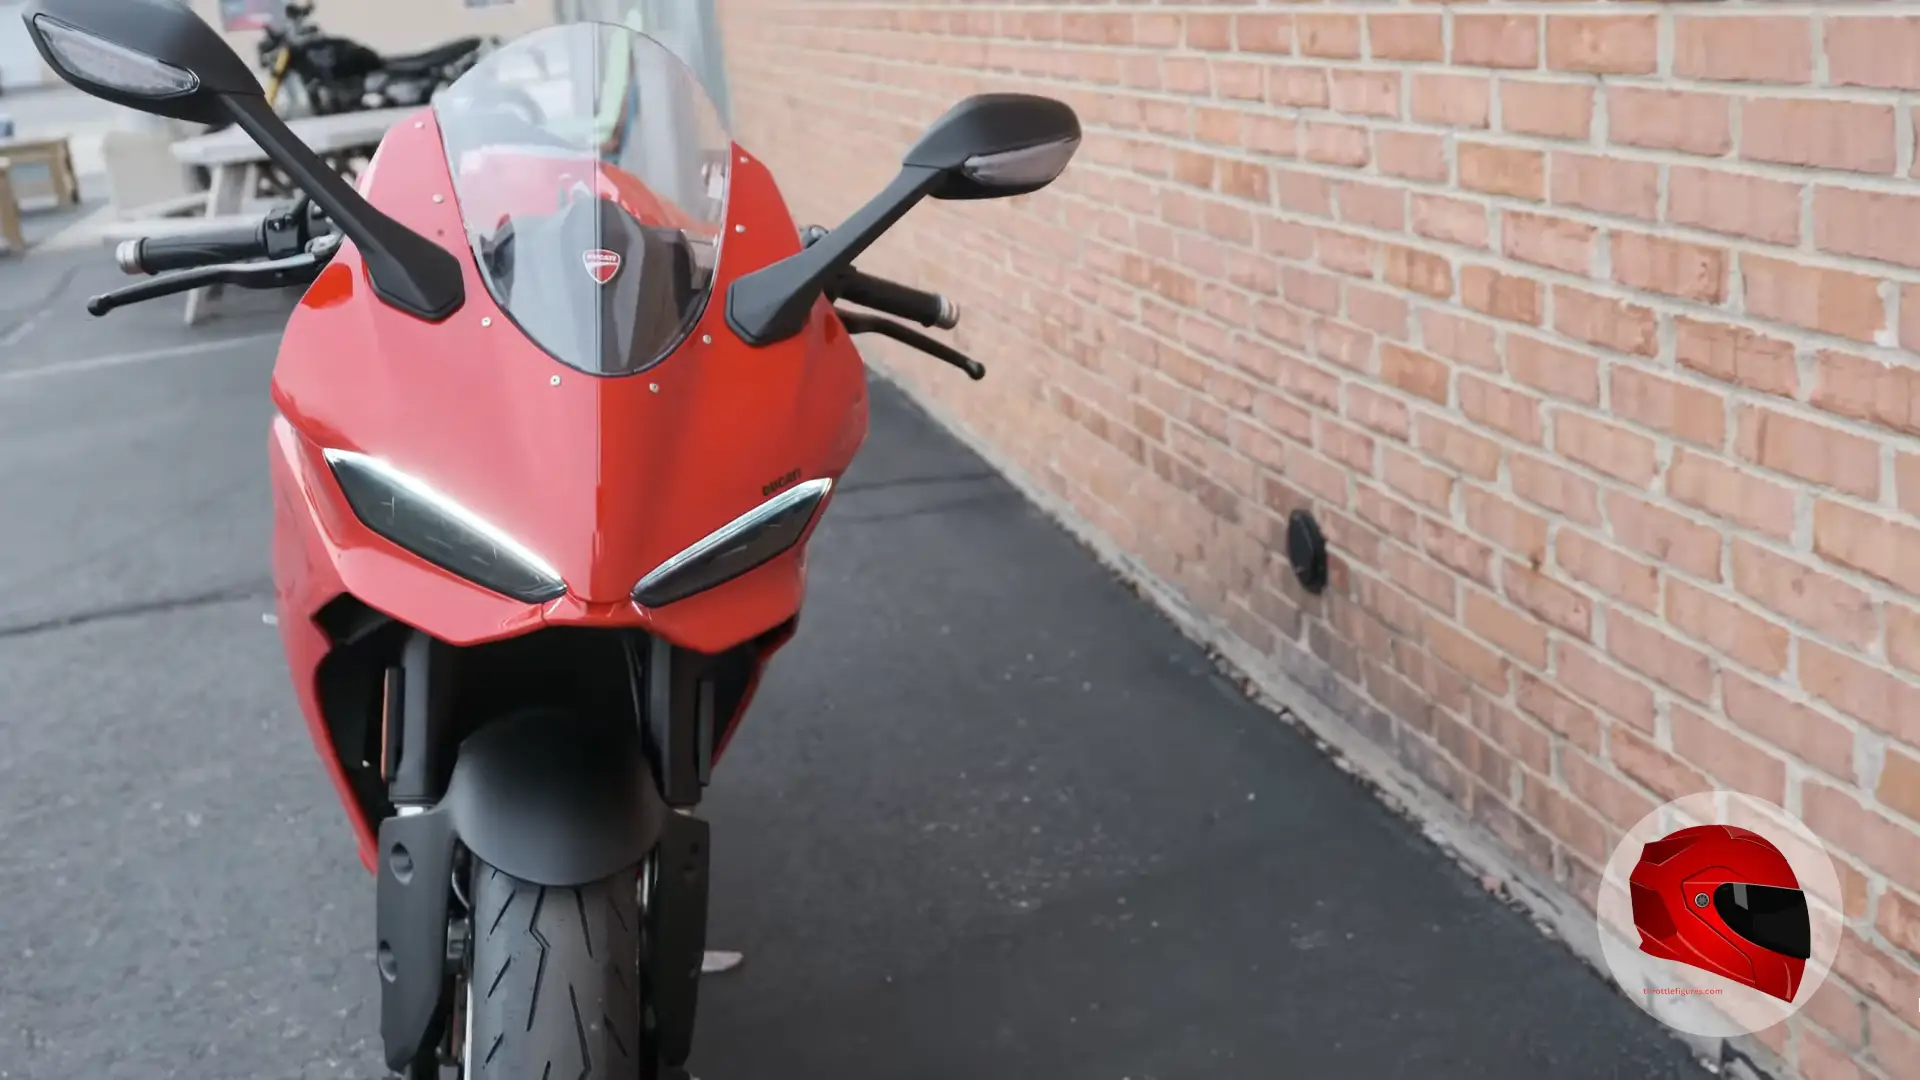
Stay visible in traffic
Visibility requires active attention. Position the motorcycle where drivers can see it, check your mirrors and keep an escape route open in case the vehicle ahead brakes suddenly or another driver moves across your lane.
- Stay out of other vehicles’ blind spots, especially beside rear doors and rear quarter panels.
- Use lane position to improve sight distance and create separation from nearby vehicles.
- Scan several vehicles ahead for brake lights, turn signals, gaps and lane changes.
- Check mirrors regularly without losing attention from the road ahead.
- Maintain at least a three-second following gap and increase it as conditions worsen.
- Assume a driver waiting to turn, merge or cross may not see the motorcycle.
- Identify a shoulder, open lane or other escape path before traffic becomes urgent.
Rain, snow, ice and strong wind reduce traction or visibility. Slow down before conditions use up your available grip, and avoid riding when the road surface or visibility exceeds your experience.
Avoid common beginner riding mistakes
New riders often improve quickly during the first few weeks, but confidence can develop faster than judgment. Measure progress by smooth, repeatable control and sound decisions rather than speed or road difficulty.
- Riding beyond your ability: Do not follow faster riders onto roads or into situations you have not practiced.
- Choosing too much motorcycle: A manageable 125cc, 400cc motorcycle is easier to control while you develop braking, turning and clutch skills.
- Skipping protective gear: A short trip or warm weather is not a reason to skip basic protection.
- Using abrupt controls: Avoid sudden throttle, clutch, steering or braking inputs.
- Riding in poor weather too soon: Wet roads and strong wind demand more traction management and visibility judgment.
- Accepting unsafe group pressure: Leave a group ride if its pace, spacing or route exceeds your comfort and training.
- Becoming overconfident: Keep practicing after your first successful rides. Familiarity does not replace experience.
Wait to carry a passenger until you are legally permitted, comfortable with the motorcycle’s added weight and able to explain basic passenger behavior. The passenger should keep both feet on the passenger pegs, hold on securely and avoid sudden movements.
Choose a Motorcycle You Can Control
- Check reach: Sit in your normal riding position and confirm that the handlebar, clutch, brake lever and foot controls are easy to reach without stretching.
- Assess seat height: You should be able to balance the motorcycle confidently at stops, even if both feet do not sit completely flat.
- Test the weight: A motorcycle that feels manageable while upright should also be controllable when backing up, turning and recovering from a stop.
- Prioritize manageable power: Choose a motorcycle that lets you practice throttle, braking and cornering without overwhelming your current skill level.
- Use adjustability: Set the mirrors and control levers so your wrists stay neutral and the controls respond naturally from your seated position.
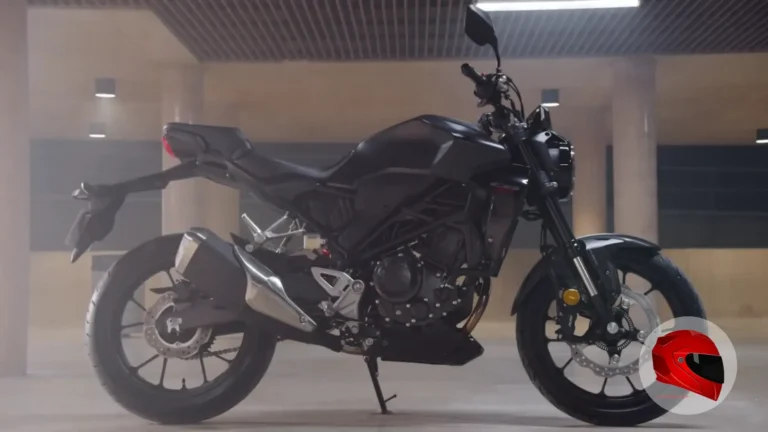
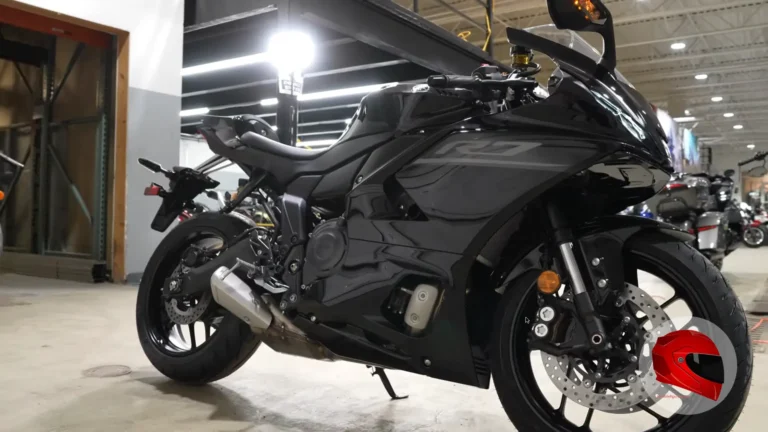
Engine size is only part of the equation. Seat height, curb weight and predictable power delivery all affect how confidently a new rider can handle slow turns and emergency stops. Compare these factors before buying so you don’t end up with a motorcycle that feels intimidating or difficult to manage. A first motorcycle guide can help you match them to your experience, riding position and goals.
Pre-ride motorcycle safety checklist
A short inspection can find problems before they cause a failure on the road. Perform it before every ride, especially after the motorcycle has been stored, transported, serviced or exposed to rain.
- Tires: Check air pressure when the tires are cold and inspect the tread, sidewalls and embedded objects.
- Chain: Check its condition, lubrication and tension against the motorcycle’s specified limits.
- Brakes: Test lever and pedal feel and look for damage, leaks or unusual wear.
- Controls: Confirm smooth throttle return and proper clutch, shift and steering movement.
- Lights: Check the headlight, brake light, turn signals and license-plate light.
- Fluids: Look for leaks and confirm the required levels in the owner’s manual.
- Roadworthiness: Secure luggage, remove loose items and adjust the mirrors.
Do not ride with a soft or damaged tire, ineffective brake, binding control or loose critical component. Fix the problem before leaving, even when the planned trip is short.
A pre-ride inspection should cover more than tire pressure and brake operation. A loose, dry or damaged chain can affect power transfer and cause problems on the road, so check its slack, lubrication and condition before setting out. Look for rust and tight spots, especially after riding in the rain. Regular motorcycle chain maintenance can help prevent minor drivetrain issues from becoming safety problems.
Your first 30 days of practice
A staged schedule keeps you from moving straight from a first lesson into difficult traffic. Practice only when alert, sober, properly equipped and legally allowed to ride in that location.
- Days 1-7: Repeat starts, stops, friction-zone walking, straight-line riding, circles, figure eights and basic shifting in a quiet lot.
- Days 8-14: Add progressive braking, wider-to-tighter turns, countersteering practice, lane-position exercises and mirror checks.
- Days 15-21: Ride short routes on quiet streets during daylight, focusing on intersections, speed control, scanning and following distance.
- Days 22-30: Add moderate traffic, longer routes, gentle hills and more complex intersections only when earlier skills remain automatic.
Return to a lower-level exercise whenever a new environment creates tension or rushed inputs. Do not add a passenger, freeway riding, nighttime riding or bad-weather riding until your permit rules, training and control skills support it.
Build skills beyond the basics
Move to advanced techniques only after formal basic training and consistent control during ordinary street riding. Practice progressively in a controlled training environment rather than using public roads to test speed or personal limits.
- Emergency swerves: Practice changing direction around a hazard while looking at the open path and maintaining controlled inputs.
- Tighter cornering: Improve low-speed steering, vision and line control before attempting more demanding turns.
- Hazard avoidance: Learn to recognize escape routes, surface changes and sudden traffic conflicts before they become urgent.
- Braking: Continue progressive stopping practice and emergency-stop drills in a safe, appropriate area.
FAQs
What is the 12-second rule for motorcycle riders?
The 12-second rule means looking far enough ahead to see what you will encounter in roughly the next 12 seconds of travel. This gives you more time to identify slowing traffic, turning vehicles, surface hazards and changes in road position.
What does “two fingers down” mean for bikers?
A downward two-finger wave is commonly used as a motorcycle greeting. It is different from keeping two fingers on the brake or clutch lever, which is a personal control technique and should never reduce secure control of the motorcycle.
How hard is it to ride a motorcycle for the first time?
The basic controls can be learned quickly, but smooth low-speed balance, emergency braking, traffic reading and cornering require repeated practice. A formal course and gradual riding schedule make the first experience more manageable and safer.
Conclusion
Start with an approved beginner course, complete your state’s licensing steps and practice basic control in a quiet lot before entering complex traffic. Choose a manageable motorcycle, wear full protective gear, build skills gradually and treat smooth judgment as the main measure of progress.

2 Comments
Comments are closed.