How to Prepare Your Motorcycle for a Long Road Trip: Complete Checklist
A long motorcycle trip is safest when preparation begins weeks before departure rather than the night before. The work depends on tire and service life, the motorcycle’s load, planned daily mileage, weather, and roadside support across state lines. A structured inspection leaves time to replace worn parts, correct handling problems, and change the route before the first long day.
Motorcycle Long-Trip Preparation Checklist
- Inspect the motorcycle 2 to 3 weeks before departure. Check the tires, brake components, fluids, drivetrain, battery, leaks, fasteners, and controls.
- Replace worn consumables 14 days before departure. Replace tires at 2 mm of tread or at the wear indicator, and replace brake pads below 3 mm of friction material. Change the engine oil and OEM filter when the service is due within 1,500 miles.
- Schedule professional service 7 to 10 days before departure if the inspection finds faults, the maintenance history is incomplete, or the trip exceeds approximately 2,500 miles.
- Verify travel coverage 14 days before departure. Check motorcycle insurance, roadside towing limits, a motorcycle-endorsed license, registration, and physical document backups.
- Complete the T-CLOCS inspection 7 days before departure. Check Tires, Controls, Lights, Oil and fluids, Chassis, and Stands.
- Pack the motorcycle with tools, emergency spares, protective gear, documents, medication, clothing, and weather layers. Keep heavy items low and centered.
- Plan the route around a 150- to 250-mile fuel range, stops every 75 to 100 miles, weather changes, rest opportunities, and alternate roads.
- Load the motorcycle 3 days before departure. Secure every bag, latch, strap, and mounted accessory.
- Test-ride the loaded motorcycle for 50 miles. Correct handling, visibility, comfort, luggage, or mechanical problems before leaving.
Complete the motorcycle pre-trip inspection
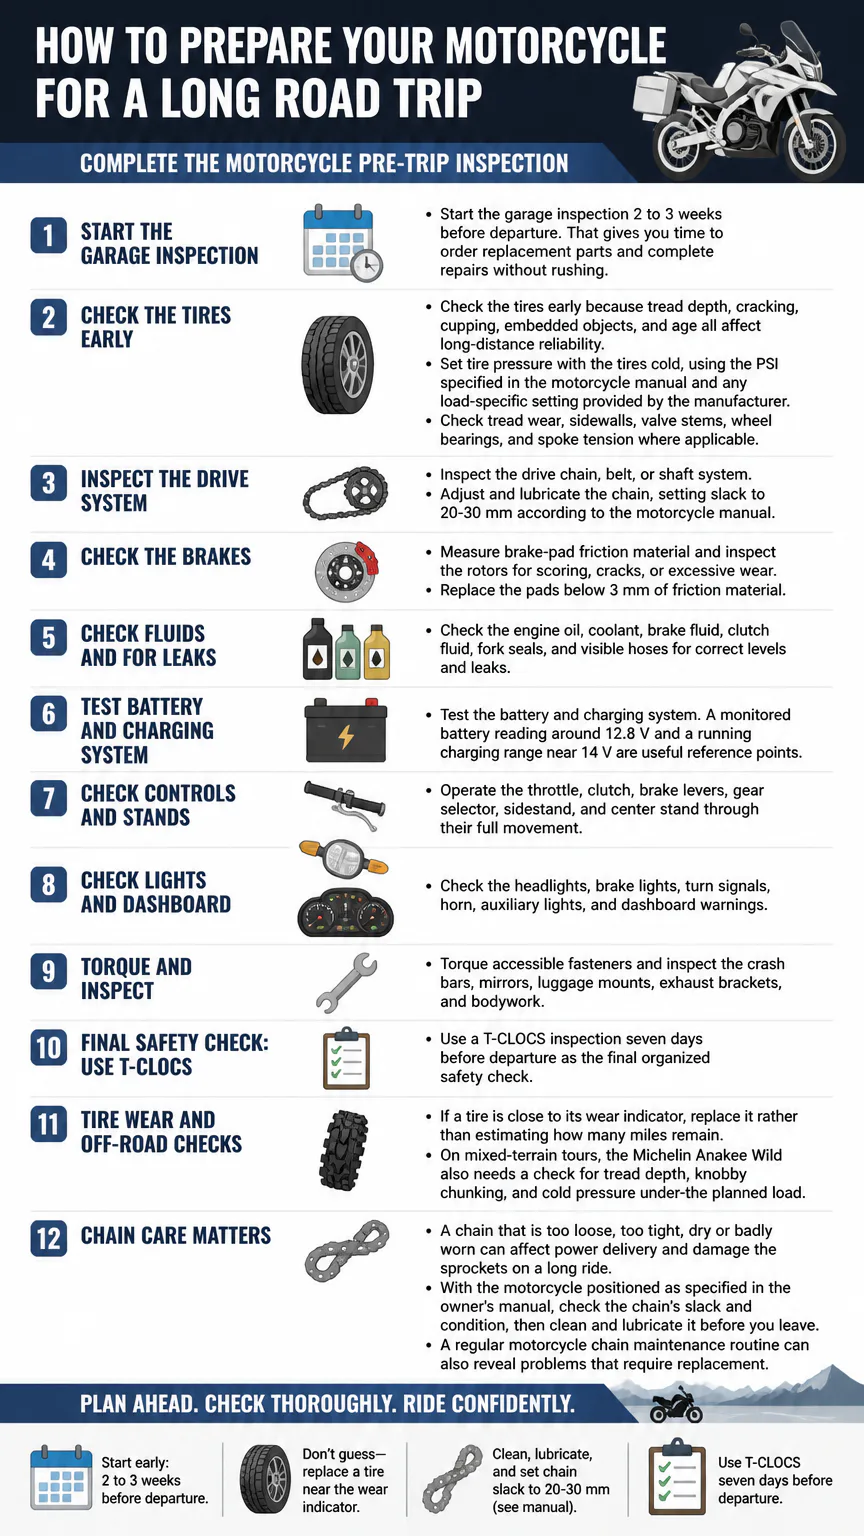
Start the garage inspection 2 to 3 weeks before departure. That gives you time to order replacement parts and complete repairs without rushing. Check the tires early because tread depth, cracking, cupping, embedded objects, and age all affect long-distance reliability. Set tire pressure with the tires cold, using the PSI specified in the motorcycle manual and any load-specific setting provided by the manufacturer.
- Check tread wear, sidewalls, valve stems, wheel bearings, and spoke tension where applicable.
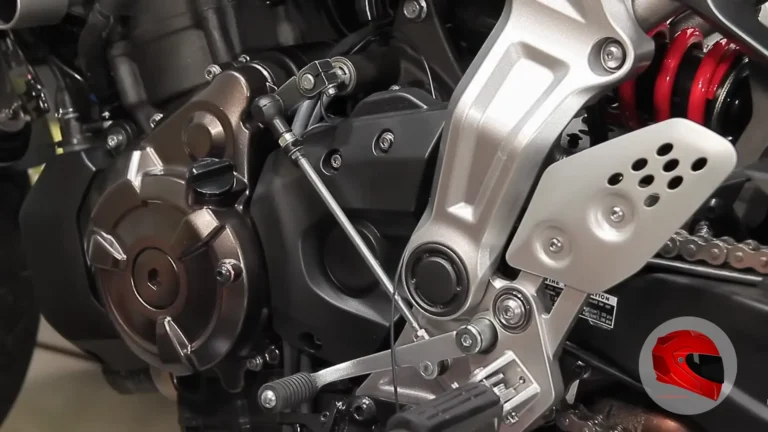
- Inspect the drive chain, belt, or shaft system. Adjust and lubricate the chain, setting slack to 20-30 mm according to the motorcycle manual.
- Measure brake-pad friction material and inspect the rotors for scoring, cracks, or excessive wear. Replace the pads below 3 mm of friction material.
- Check the engine oil, coolant, brake fluid, clutch fluid, fork seals, and visible hoses for correct levels and leaks.
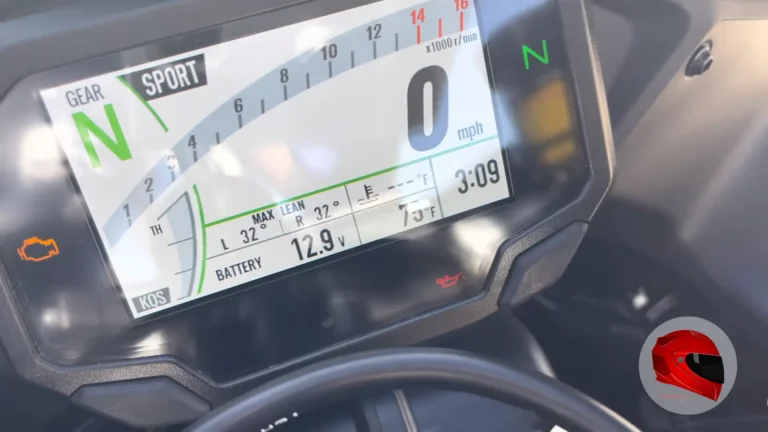
- Test the battery and charging system. A monitored battery reading around 12.8 V and a running charging range near 14 V are useful reference points.
- Operate the throttle, clutch, brake levers, gear selector, sidestand, and center stand through their full movement.
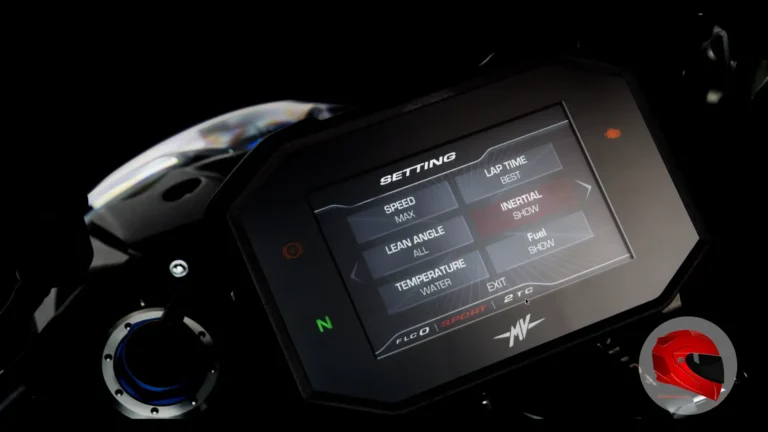
- Check the headlights, brake lights, turn signals, horn, auxiliary lights, and dashboard warnings.
- Torque accessible fasteners and inspect the crash bars, mirrors, luggage mounts, exhaust brackets, and bodywork.
Use a T-CLOCS inspection seven days before departure as the final organized safety check. If a tire is close to its wear indicator, replace it rather than estimating how many miles remain. On mixed-terrain tours, the Michelin Anakee Wild also needs a check for tread depth, knobby chunking, and cold pressure under the planned load.
A chain that is too loose, too tight, dry or badly worn can affect power delivery and damage the sprockets on a long ride. With the motorcycle positioned as specified in the owner’s manual, check the chain’s slack and condition, then clean and lubricate it before you leave. A regular motorcycle chain maintenance routine can also reveal problems that require replacement.
Schedule service before departure
Set the service date according to the motorcycle’s maintenance schedule and the distance ahead. An oil change makes sense before departure when the next service falls within approximately 1,500 miles. A trip longer than 2,500 miles can use up a rear tire, require an oil change, or call for a chain adjustment, so identify possible service points before leaving.
| Maintenance Item | Action | Service Threshold / Spec | Timing Before Departure | Professional Required? |
|---|---|---|---|---|
| Engine oil and filter | Change oil and OEM filter | Use manual-specified oil grade | Within 1,500 miles | Optional |
| Tires | Inspect and replace if worn | Replace at 2 mm tread or wear indicator | 14 days before | Recommended |
| Brake pads | Inspect and replace if worn | Replace below 3 mm friction material | 14 days before | Yes |
| Drive chain | Adjust, lubricate, and inspect | Set slack to 20–30 mm per manual | 3 days before | No |
| Comprehensive inspection | Inspect and correct safety faults | Check suspension, lights, brakes, and fluids | 7–10 days before | Yes |
| Tire pressure | Adjust when tires are cold | Set to motorcycle manual PSI | 1 day before | No |
| Brake fluid | Inspect or flush | Flush every 2 years or above 2% moisture | 14 days before | Yes |
| Battery | Test voltage and clean terminals | At least 12.6 V resting voltage | 7 days before | No |
Service intervals vary by model. The BMW R1200GS has a 6,000-mile service interval, so compare the planned route with the odometer instead of relying on a general mileage rule. On a Street Glide, inspect the fork seals, steering-head bearings, and tour-pack latch during the final loading check. On a Road Glide, inspect the fairing bolts, audio electronics, and suspension preload.
Book the appointment early enough to allow time for parts, follow-up repairs, or a second inspection if the motorcycle has a problem. Service timing depends on the bike’s mileage, age, storage conditions, and the manufacturer’s schedule, so check how often to service your motorcycle before setting a departure date.
Pack tools and emergency spares
A roadside kit should cover common temporary repairs without becoming a second luggage system. Choose tools that fit the motorcycle’s actual fasteners. A generic multitool may not replace the bike-specific hex keys or sockets needed to remove a wheel, access a fuse, or tighten a control.
- Carry a tire plug kit, pressure gauge, and mini 12V compressor or CO2 cartridges.
- Pack a multitool, bike-specific hex keys, compact sockets, and the correct tire valve tool.
- Add zip ties, duct tape, electrical tape, a flashlight, and a small first-aid kit.
- Carry fuses, spark plugs, bulbs, hose clips, and model-specific weak-point parts.
- Bring spare charging cables, a power bank, and waterproof bags for electronics.
- Store gloves and eye protection with the repair kit to protect your hands and eyes during roadside work.
Practice with the tire repair kit and compressor before the trip. A puncture repair helps only if you can locate the leak, remove the object safely, insert the plug, inflate the tire, and confirm that the pressure holds. A plug is not a permanent replacement for a damaged tire.
Choose and load motorcycle luggage
Choose luggage according to weather exposure, security, access, and the motorcycle’s mounting limits. Lay everything out before packing, then remove approximately 30 percent. Four to five days of clothing with laundry stops is usually more practical than carrying a separate outfit for every riding day.
Hard luggage
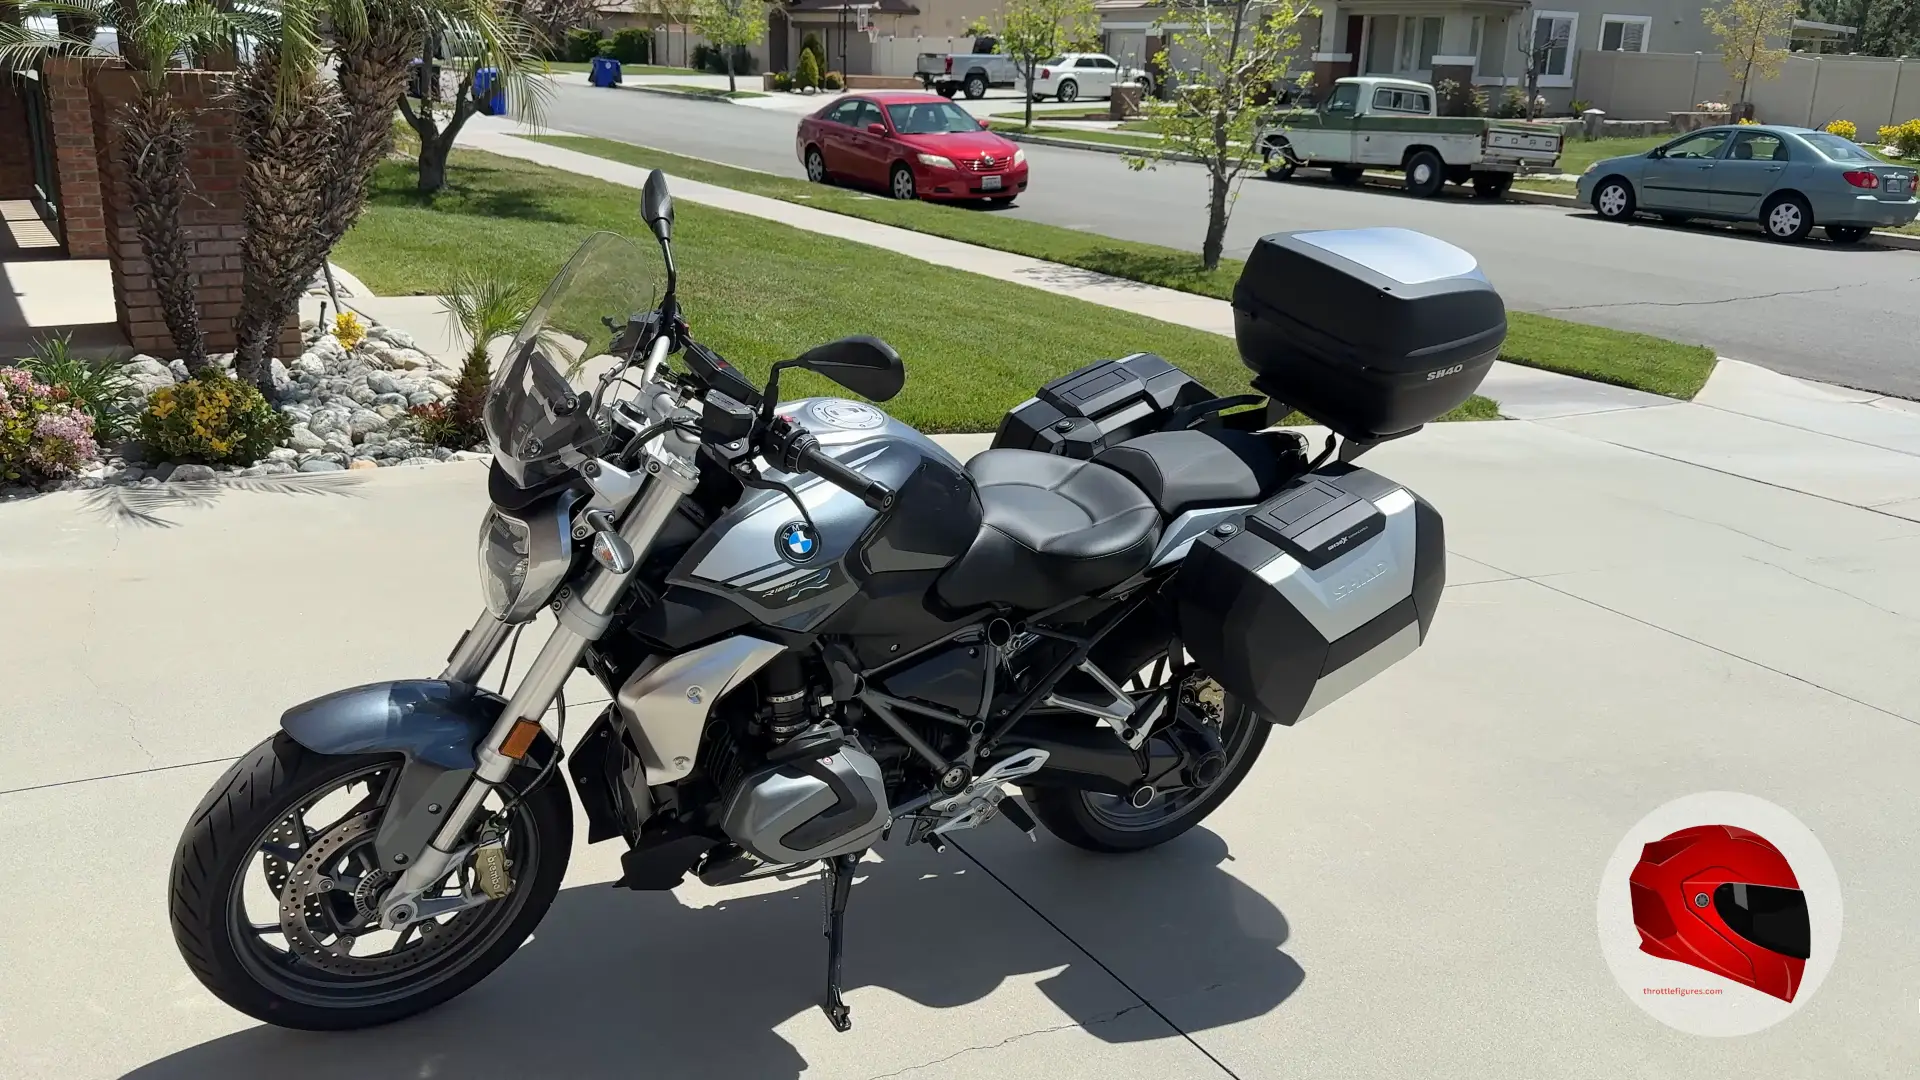
Hard panniers and a top box protect their contents from impacts, keep their shape, and make valuables easier to secure. They suit paved touring and frequent stops where quick access and lockable storage matter. Check latch engagement, hinge condition, mounting bolts, and the manufacturer’s weight limit before departure.
Soft luggage
Soft panniers, tail bags, and tank bags are lighter and easier to fit to different motorcycles. They suit trips where the required capacity may change, but keep the straps away from the chain, wheel, exhaust, and suspension. Use dry bags or internal waterproof liners because many soft bags resist rain without being fully waterproof.
Dry bags
A dry bag protects sleeping equipment, spare clothing, and electronics from sustained rain. Place it where it cannot block the tail light, obscure the license plate, interfere with a passenger, or shift under braking. Keep frequently used items in a tank bag or outer pocket so you do not have to unpack the entire motorcycle at every stop.
Put heavy items low and near the motorcycle’s center, then balance the weight across both sides. After loading, check steering movement, suspension sag, mirror visibility, sidestand stability, and clearance around the exhaust and rear wheel.
Keep heavy items low, centered and close to the motorcycle’s middle instead of putting everything in the tail bag. Luggage and camping gear affect acceleration, braking, steering and hill climbing, making the motorcycle power-to-weight ratio more noticeable once the bike is fully loaded.
Prepare protective riding gear
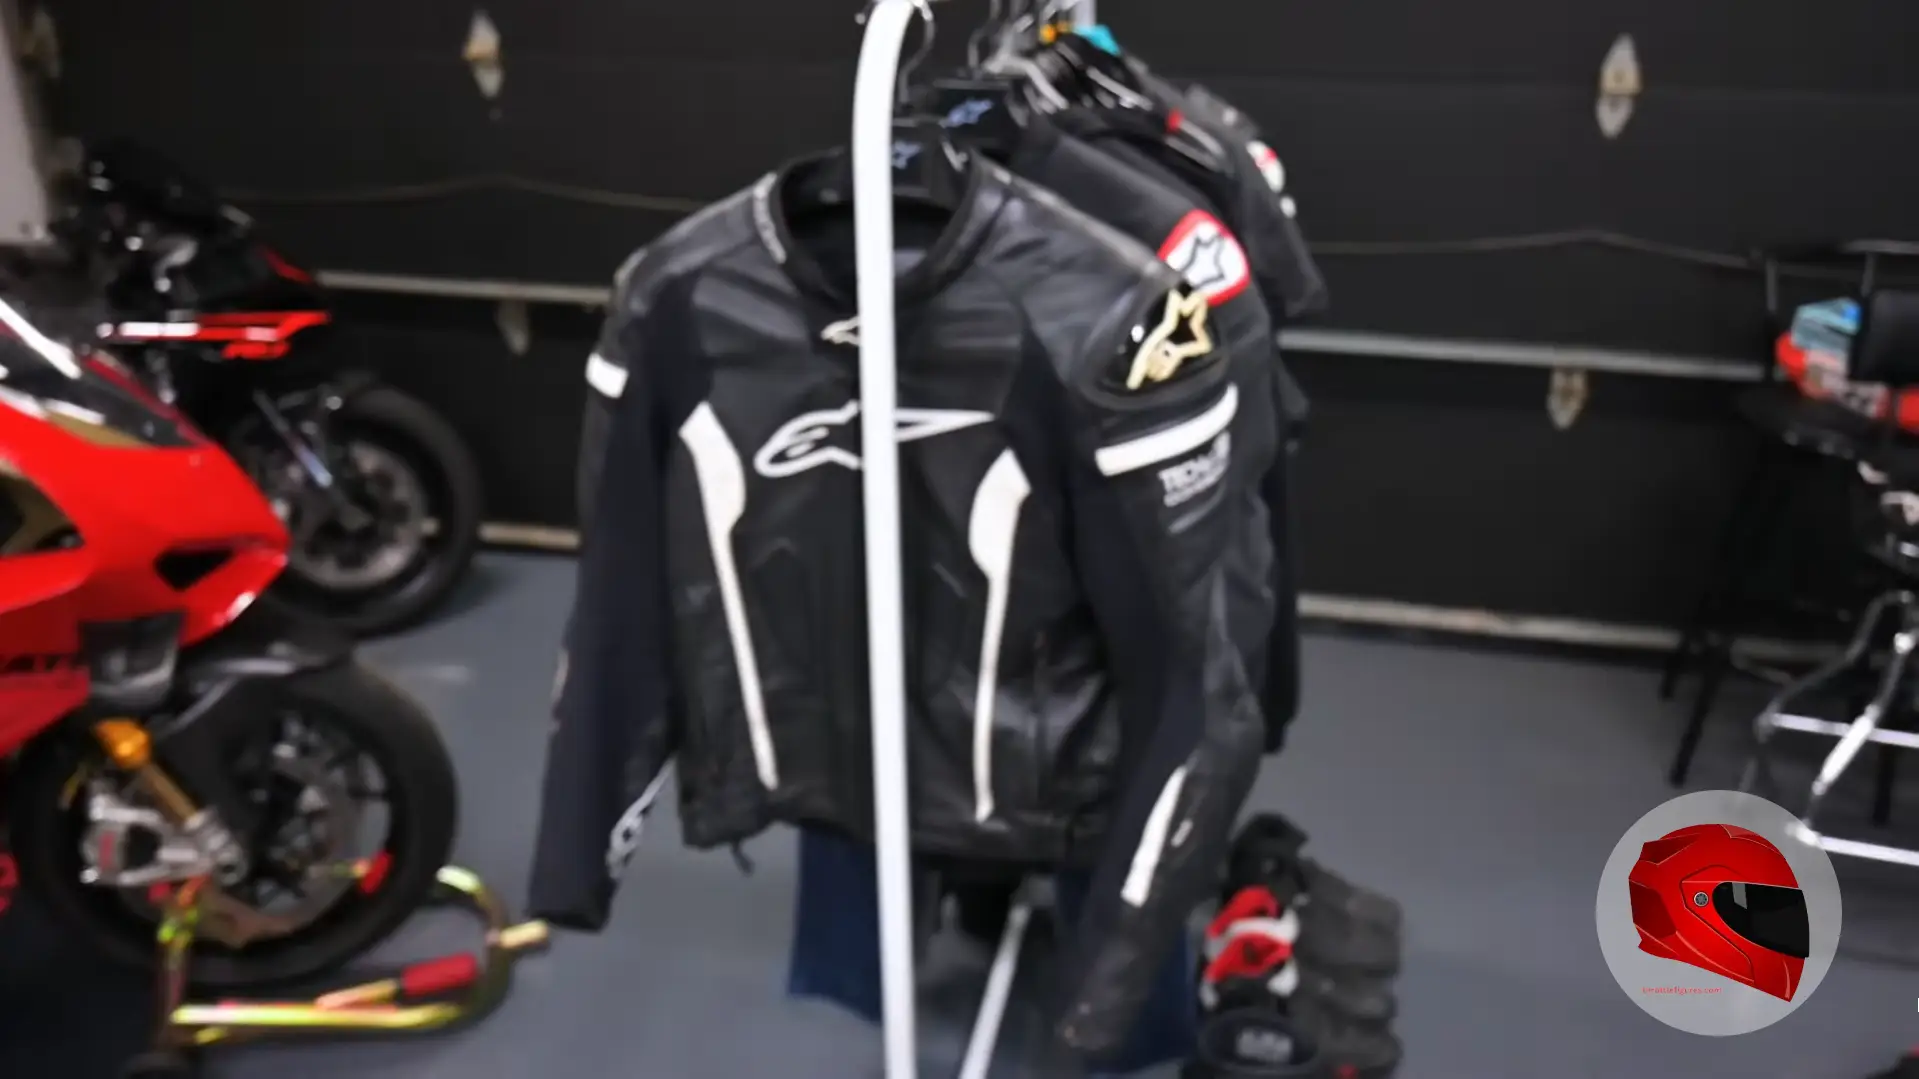
Long-distance comfort depends on protective equipment that remains usable in heat, rain, cold mornings, and changing elevations. Wear a DOT-approved or Snell-rated helmet that fits securely. Replace it after a significant impact or when its condition has deteriorated.
- Use a protective jacket and pants with properly positioned armor.
- Carry waterproof gloves, boot covers, and a rain suit that fits over your riding gear.
- Pack insulating layers and heated gear when temperatures may fall along the route.
- Wear motorcycle-specific boots with ankle protection, secure closures, and oil-resistant soles.
- Use earplugs to reduce wind noise and fatigue during sustained highway riding.
- Carry a hydration system or water bottles and drink at each stop.
- Pack a spare visor or cleaning supplies for dust, insects, and rain spray.
Cycle Gear has more than 150 U.S. locations for helmets, apparel, tools, luggage, and emergency supplies. RevZilla sells touring and adventure gear online and through showrooms, including motorcycle-specific luggage, replacement parts, and riding apparel.
Plan fuel, weather, and rest stops
Build the itinerary around the motorcycle’s actual fuel range and your physical limits. Many motorcycles travel approximately 150 to 250 miles per tank, while a comfortable daily touring distance is often 200 to 400 miles. A route that fits the fuel range on paper can still fail when headwinds, detours, mountain grades, traffic, or long gaps between stations reduce the reserve.
- Mark fuel stops before entering areas where stations are more than 100 miles apart.
- Schedule breaks every 75 to 100 miles and make them at least 15 minutes when possible.
- Check weather for the departure area, destination, elevation changes, and alternate routes.
- Reserve lodging or identify camping options before a late arrival becomes a fatigue problem.
- Set a stopping limit that leaves enough daylight for fuel, meals, navigation, and mechanical delays.
Camping commonly costs $15 to $30 per night, while a motel or hotel can cost $80 to $150 or more. Budget approximately $3.50 to $5.50 or more per gallon for fuel and reserve $300 to $600 for emergency maintenance. The 12-second rule means looking at least 12 seconds ahead so you can identify hazards, traffic changes, and escape paths before they become immediate obstacles.
Confirm documents and roadside coverage
Carry the documents required to operate and recover the motorcycle across state lines. Helmet, eye-protection, equipment, and lane-splitting laws differ by state, so check the rules for every state on the route before departure. Keep physical backups in a waterproof pouch even when digital copies are stored on your phone.
- Carry a motorcycle-endorsed driver license.
- Carry vehicle registration and the insurance ID card.
- Store backup physical copies separately from the originals.
- Check liability limits and roadside-assistance endorsements on the policy.
- Confirm motorcycle towing distance, service restrictions, and trip-interruption terms.
- Keep the motorcycle identification number and emergency contacts accessible.
Progressive may provide motorcycle roadside assistance as an insurance add-on. Confirm that the policy is active and download the digital insurance card. GEICO can provide motorcycle roadside assistance and towing coverage, so review the policy limits before leaving.
AMA Roadside Assistance requires an active membership and applies motorcycle towing mileage limits. Best Roadside Service offers motorcycle towing and emergency assistance with towing of up to 75 miles. AAA Plus/Premier may include motorcycle towing through the regional auto club, so motorcycle-specific coverage must be included in the selected plan.
Test-ride the fully loaded motorcycle
Complete the final loading three days before departure and ride the motorcycle for 50 miles. Use the same luggage, tools, protective gear, and fuel level planned for the trip. An unloaded ride cannot show how added weight changes braking, steering effort, suspension behavior, or wind sensitivity.
- Check handling through slow turns, highway merges, braking zones, and uneven pavement.
- Check luggage security after the first few miles and again at the end of the ride.
- Check visibility in both mirrors and confirm that bags do not block lights or signals.
- Check comfort at the seat, bars, foot controls, helmet, gloves, and wind protection.
- Correct problems before departure instead of accepting discomfort or movement as normal.
On a Street Glide, pay particular attention to the tour-pack latch, fork seals, and steering-head feel. On a Road Glide, listen for fairing vibration, check the audio and electrical functions, and confirm the suspension preload for the loaded weight. Any new vibration, fluid leak, steering notch, brake change, or repeated luggage movement requires inspection before the trip.
Plan your first long motorcycle trip
For a first long-distance ride, choose a manageable first day rather than treating the trip as an aggressive mileage test. Complete a loaded shakedown ride before departure, then build in frequent fuel and rest options so an unexpected delay does not force you to ride while tired.
- Leave daylight and weather flexibility in the itinerary.
- Choose a first-day distance that leaves time for adjustments and recovery.
- Keep alternate roads and stopping points available if conditions change.
- Increase daily mileage only after the loaded motorcycle and rider have handled the earlier distance comfortably.
FAQs
Is 200 miles a long motorcycle ride?
Two hundred miles is a moderate touring day for many riders, but traffic, weather, terrain, stops, and experience affect the effort required. Plan breaks every 75 to 100 miles and leave enough time for fuel, hydration, meals, and fatigue management.
What is the 12-second rule on a motorcycle?
The 12-second rule means scanning at least 12 seconds ahead for hazards, traffic changes, road damage, and escape paths. Looking farther ahead gives you more time to adjust speed and position smoothly.
How much emergency money should a motorcycle trip include?
Set aside approximately $300 to $600 for emergency maintenance, including a tire repair, towing excess, replacement part, or unexpected service. Keep that fund separate from the normal fuel, lodging, and food budget.
Conclusion
Prepare the motorcycle early, complete T-CLOCS near departure, and test the fully loaded bike before committing to the route. A realistic mileage plan, usable repair kit, protective gear, verified towing coverage, and financial reserve reduce the problems that can turn a long ride into an avoidable roadside delay.